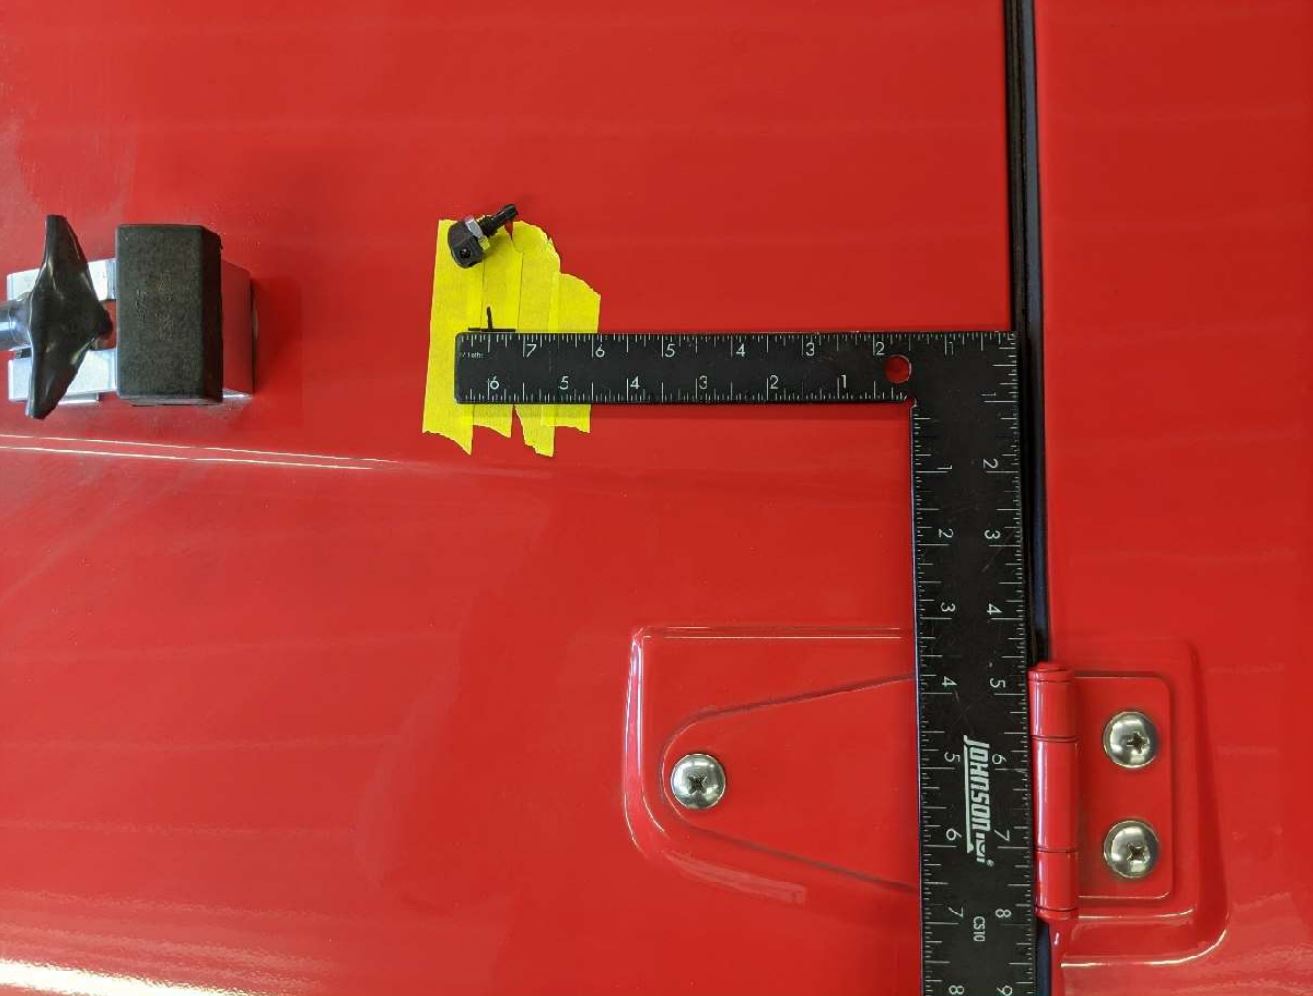
Measure from the inside edge of each hinge towards center of the vehicle 4.75 inches and then up towards the front of the vehicle 7.50 inches and drill a hole with the 5/16” drill bit for your nozzles making sure you do not hit anything under the hood.
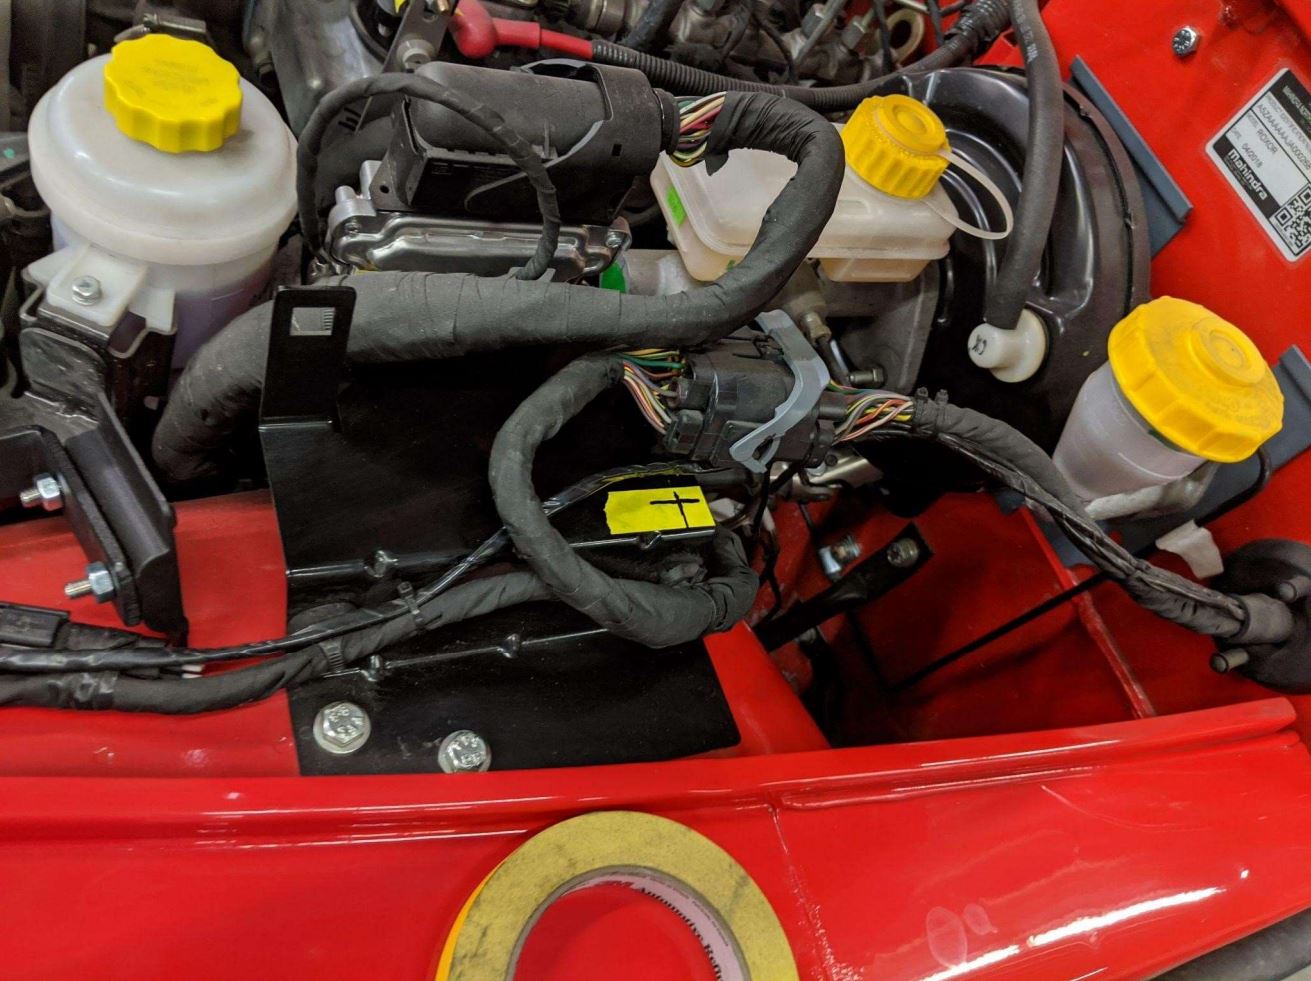
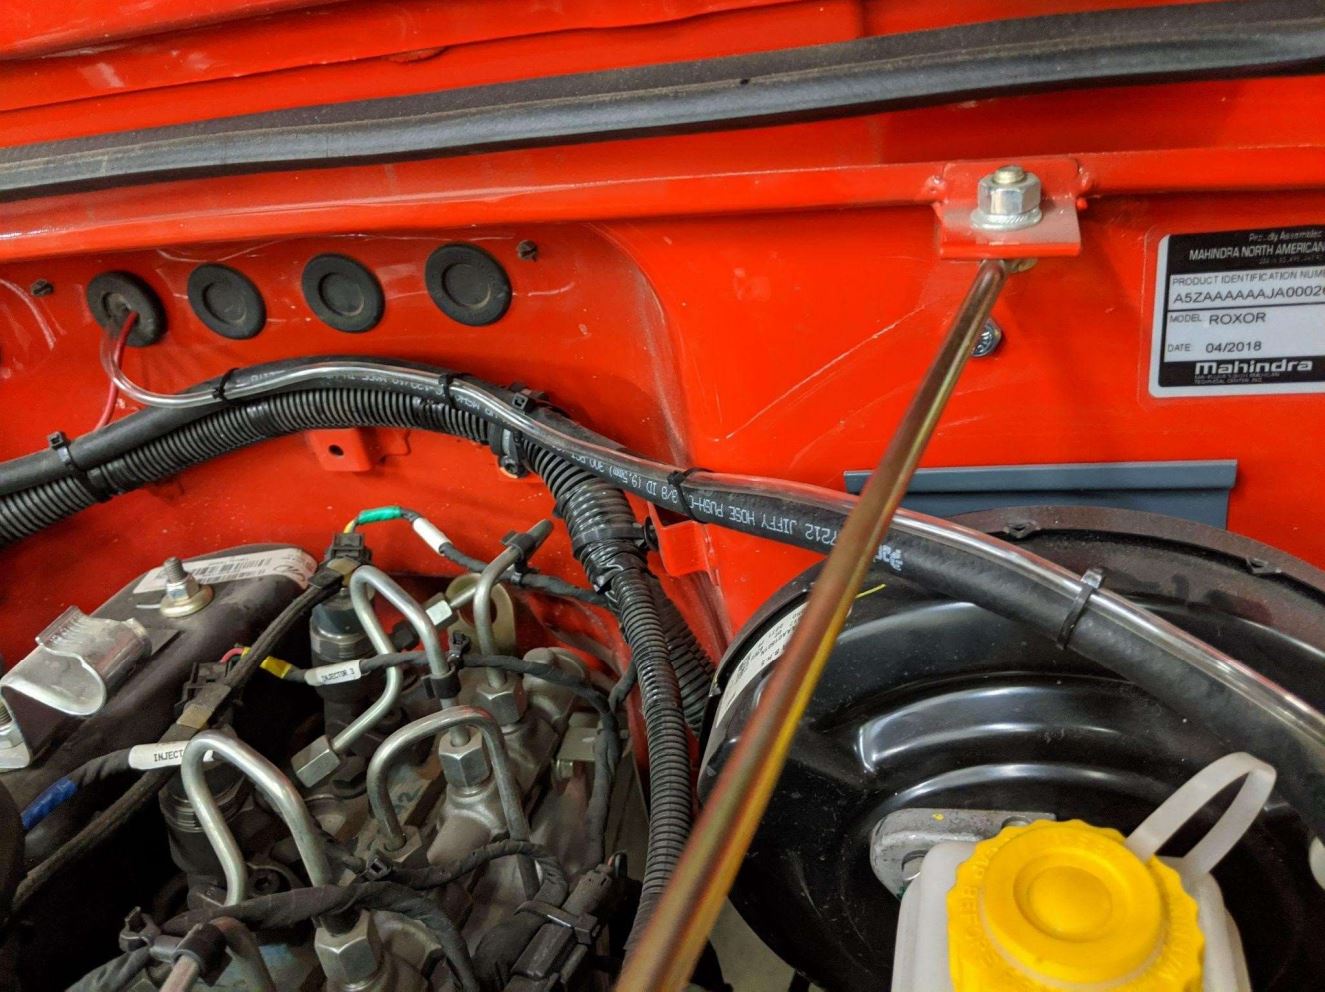
Drill a ¼” hole into the bracket located on the driver side fender as pictured
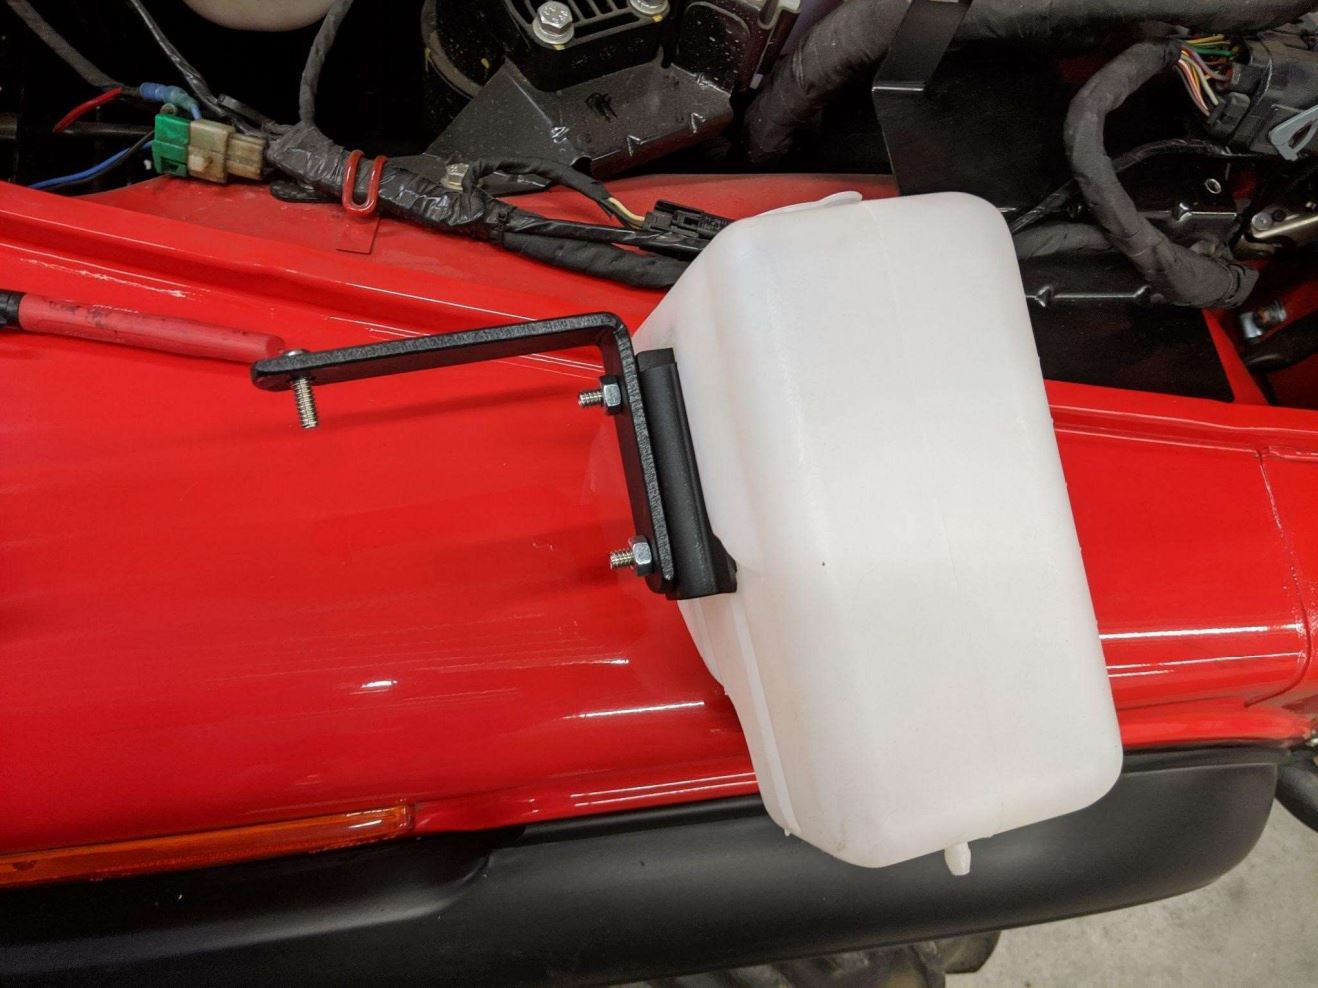
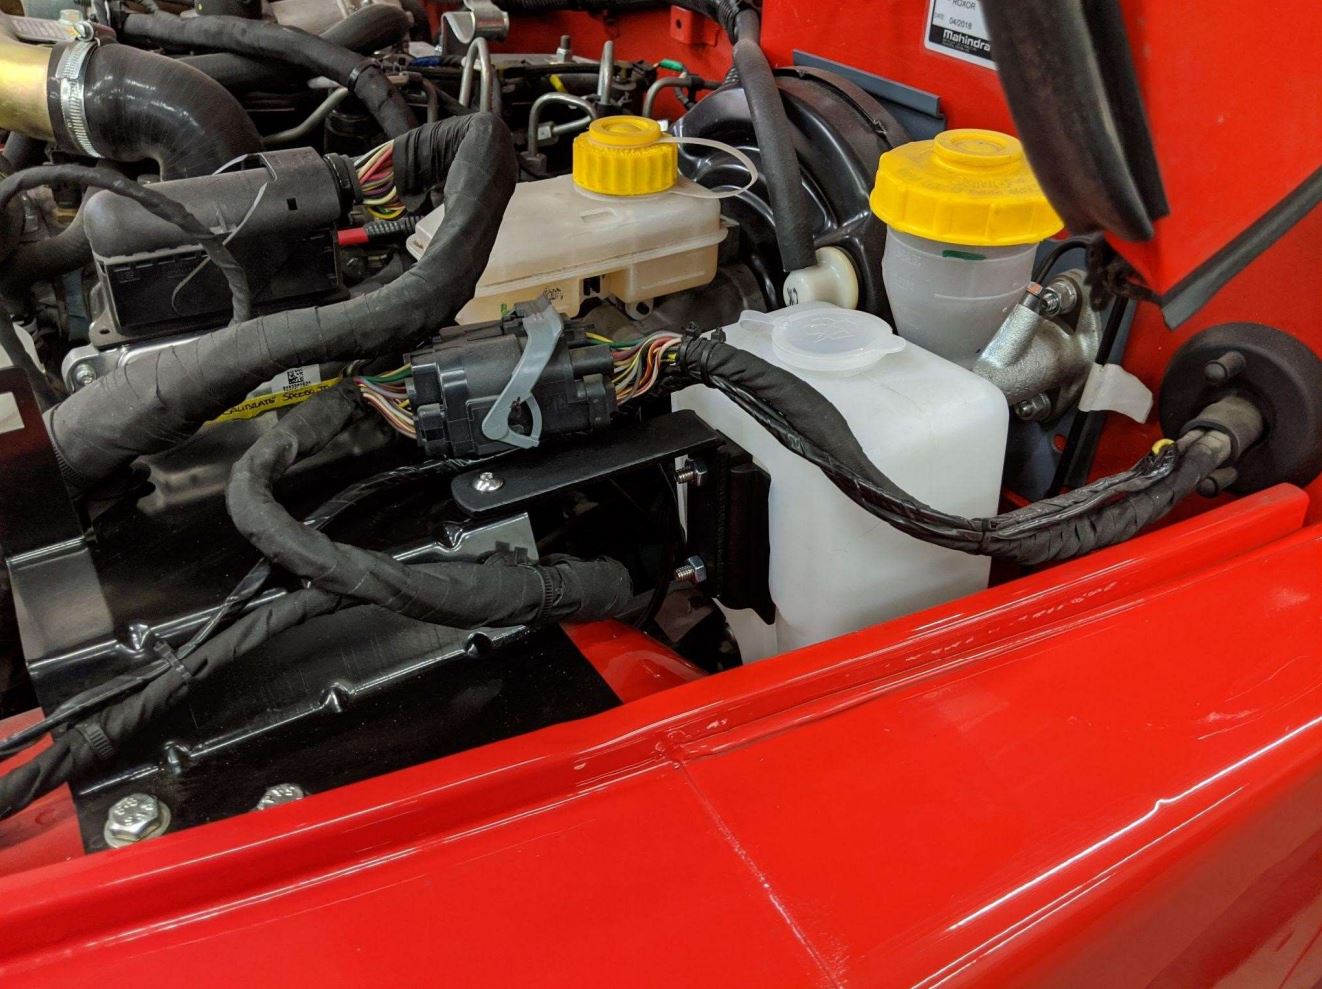
Remove the mounting bracket from the reservoir and install the provided L-bracket
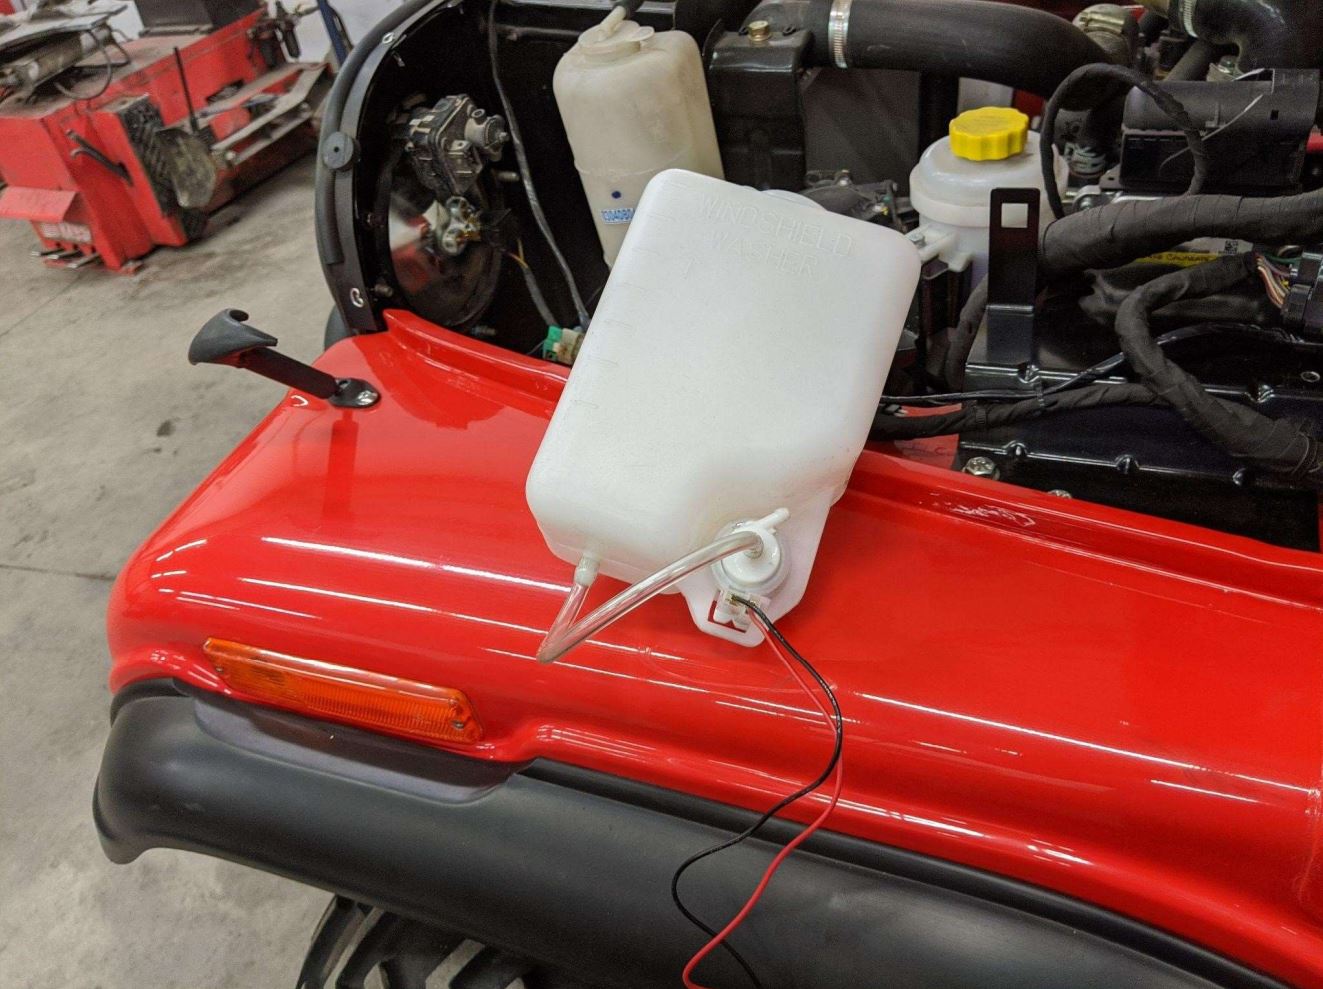
Attach the 8” hose from the output on the reservoir to the input on the pump
Attach the long hose to the reservoir output and zip tie along the brake booster hose and run it through the firewall and attach it to the t-fitting under the dash that connect your washer nozzles
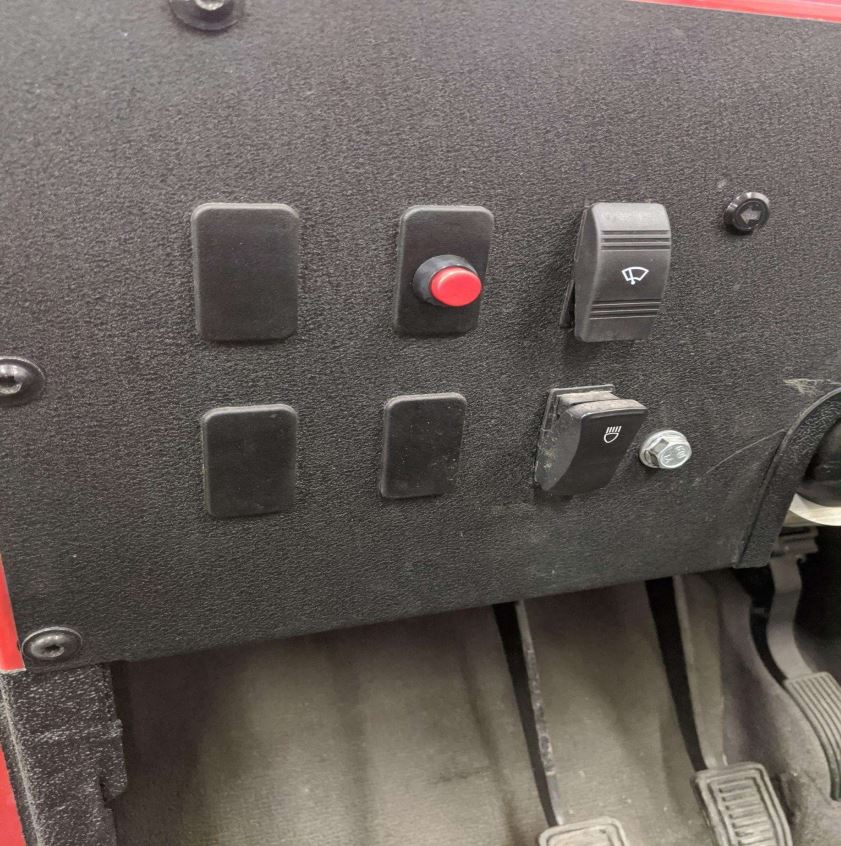
Drill a 15/32” hole into one of the blank switch plates in the dash and install the switch (Note: Some switch blanks have a blank pigtail for factory accessories connected to them) Choose one that is open.
Ground the black wire to an adequate ground and attach one terminal of the switch to a fused 12v source and attach the other terminal of the switch to the positive terminal of the pump.
Install the washer bottle and L bracket using the supplied ¼” bolt.
Fill the reservoir with proper washer fluid and test. It may be necessary to operate the pump 4 to 5 times to prime. You will also need to aim your nozzles to spray in the desired location on the windshield (using a small sewing needle works best).
Never operate pump without fluid in the reservoir or with nozzles blocked.