(8) #8-32 x ⅜” Machine Screws – 4 installed on doors
(2) Rubber Door Bumpers
(2) Door Strikers
(1) Left Door Latch – Installed
(1) Right Door Latch – Installed
(2) 8’ Sections of Weatherstrip
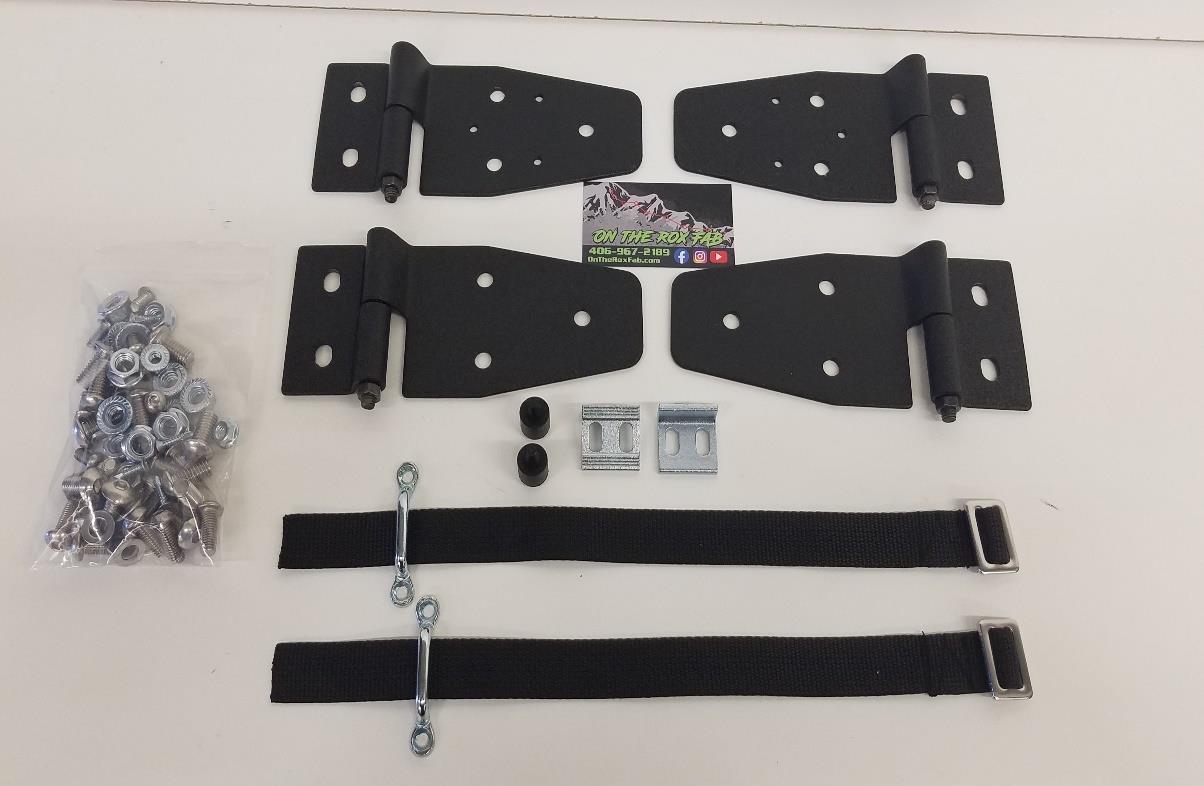
(4) Door Hinges
(4) Body Mount Brackets – attached to hinges
(2) Limiting Straps
*READ INSTRUCTIONS THOROUGHLY BEFORE BEGINNING. OTR IS NOT RESPONSIBLE FOR INCORRECT INSTALLATION OR LOCAL LAWS REGARDING AFTERMARKET ACCESSORIES. THE USER IS RESPONSIBLE FOR ALL LIABILITIES ASSOCIATED WITH THE INSTALLATION AND USE OF THIS PRODUCT.
ALWAYS UTILIZE PERSONAL SAFETY EQUIPMENT WHEN YOU ARE WORKING IN THE SHOP.
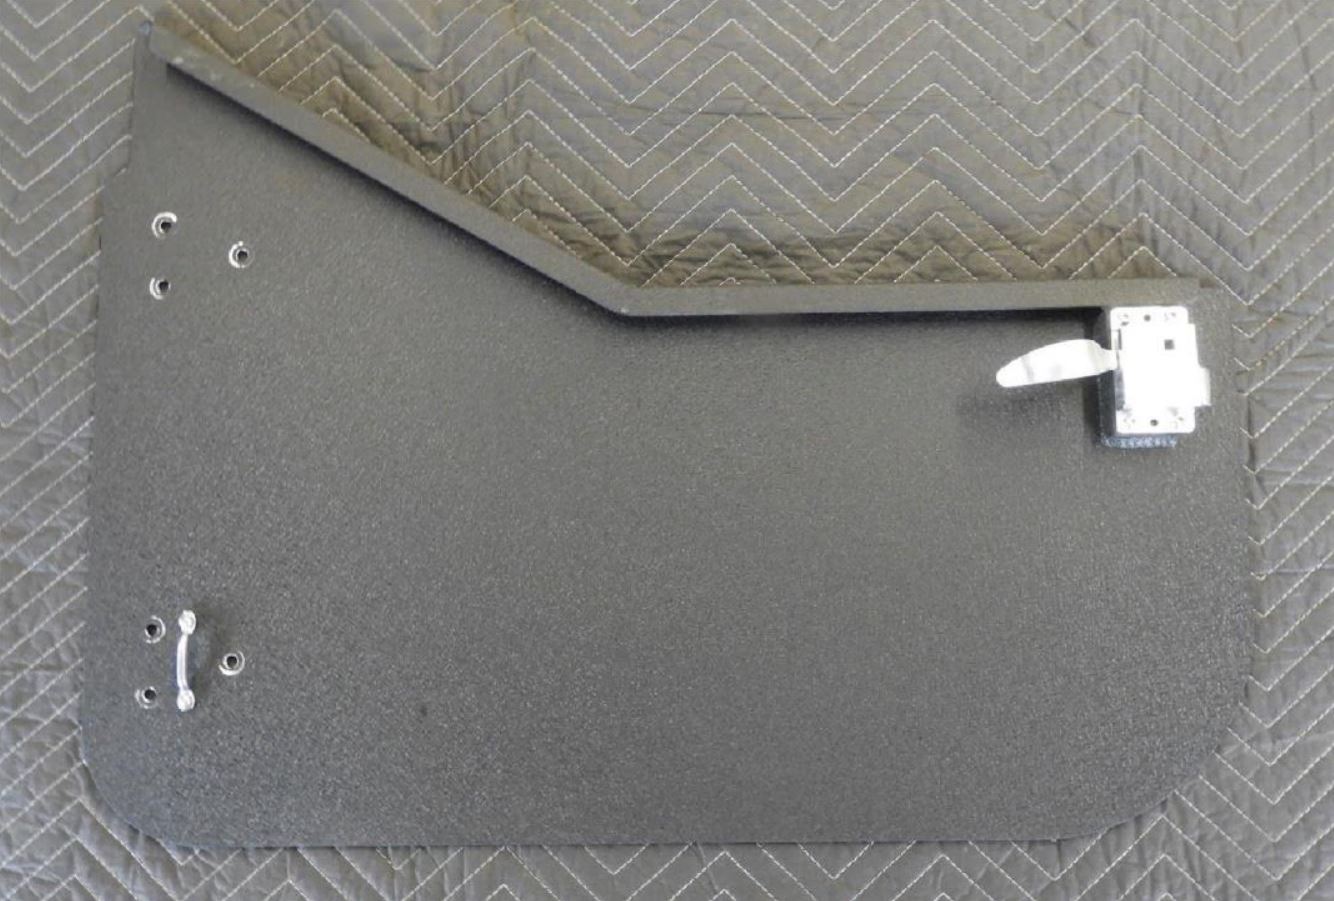
First, begin by opening the box to verify all components are present. Remove half doors from packaging, set them on some padding to protect the finish.
Locate the door hinge sets. Match them up with the doors as shown in the picture below. Hinge studs will face outward and down. The hinges with the 3 smaller holes will be mounted to the top of the door. (Holes are for an optional mirror.)
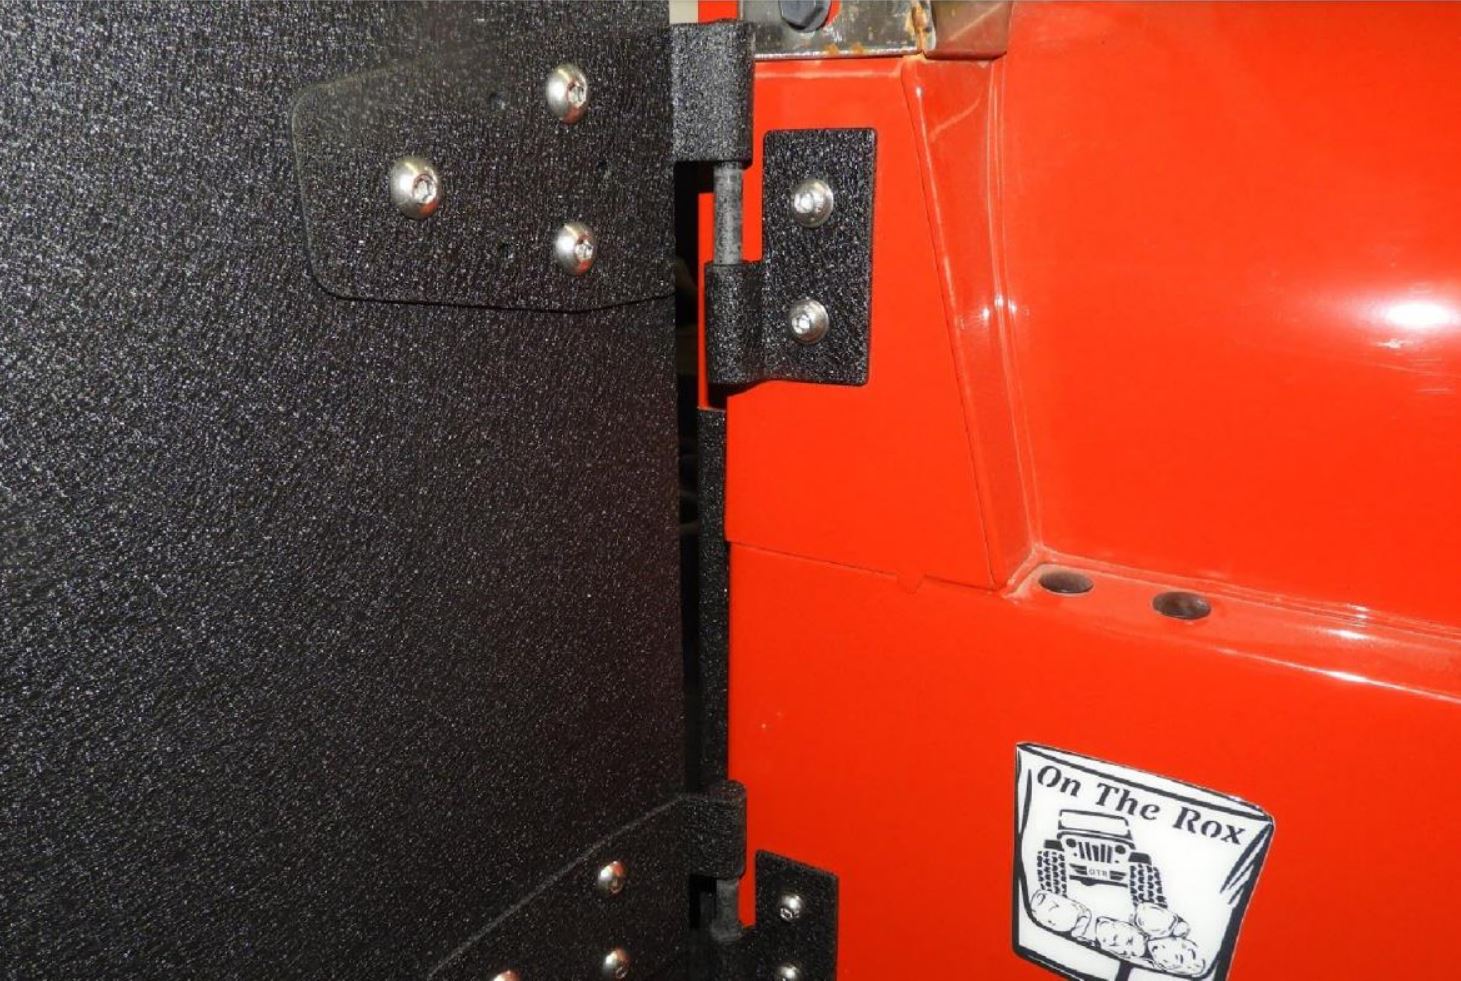
Install hinges using the ⅜” SS BH Bolts and the Serrated Flange Nuts, leaving them loose for adjustment.
Remove the black screw-clip hole plugs where the hinges will mount in front of the door opening.
Loosely install the doors on the Roxor with the M8 SS BH Bolts, and M8 SS Flat washers. Install the two 25mm bolts in the lower hole of the lower body mount bracket.
Align the door gap by closing door and adjusting loosely fastened hinges to satisfaction then tighten the mounting bolts.
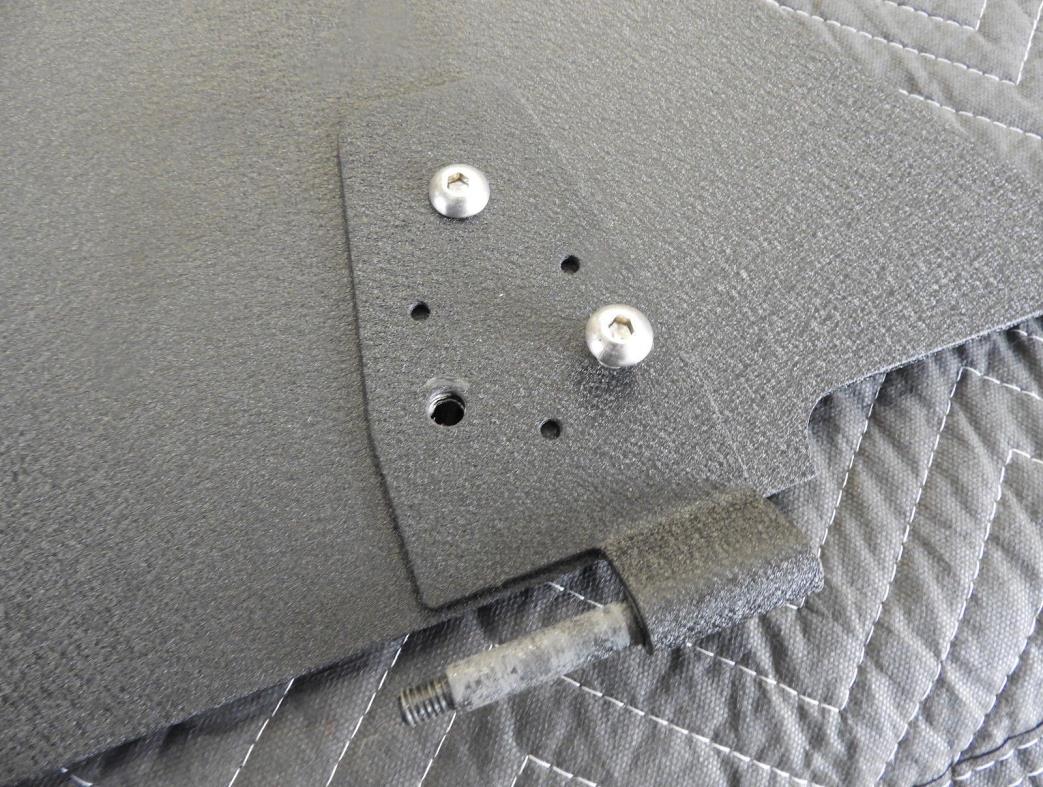
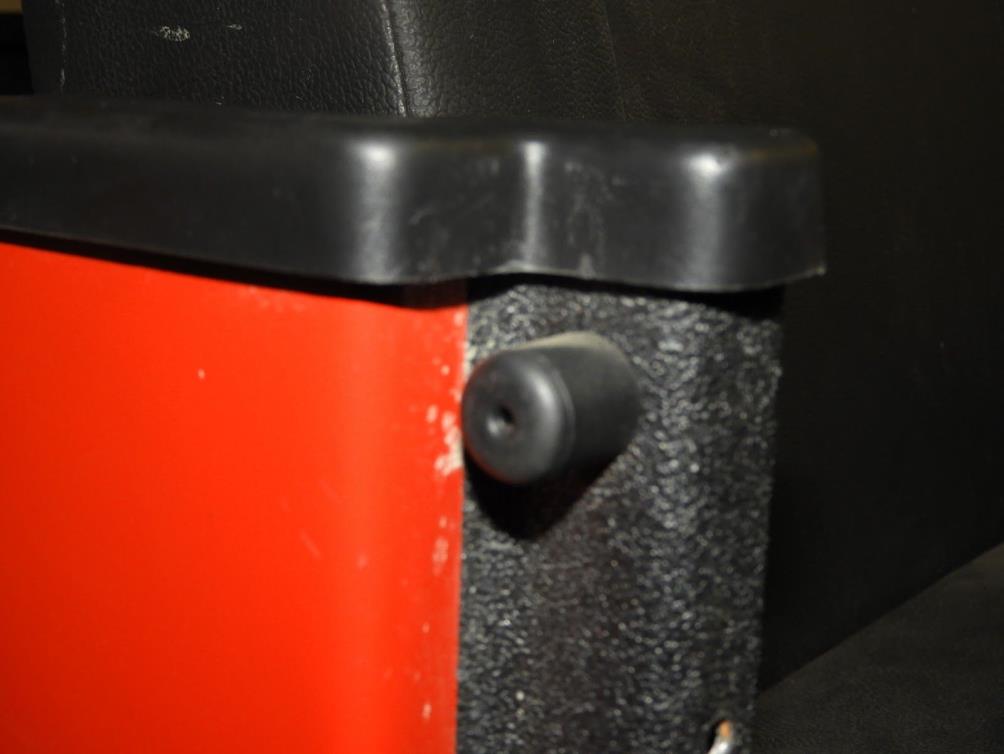
Install the supplied rubber bumpers into the door frame, near the top by drilling a 7/32” Hole. Use a drop of oil on the end of the rubber bumper to make installation easier.
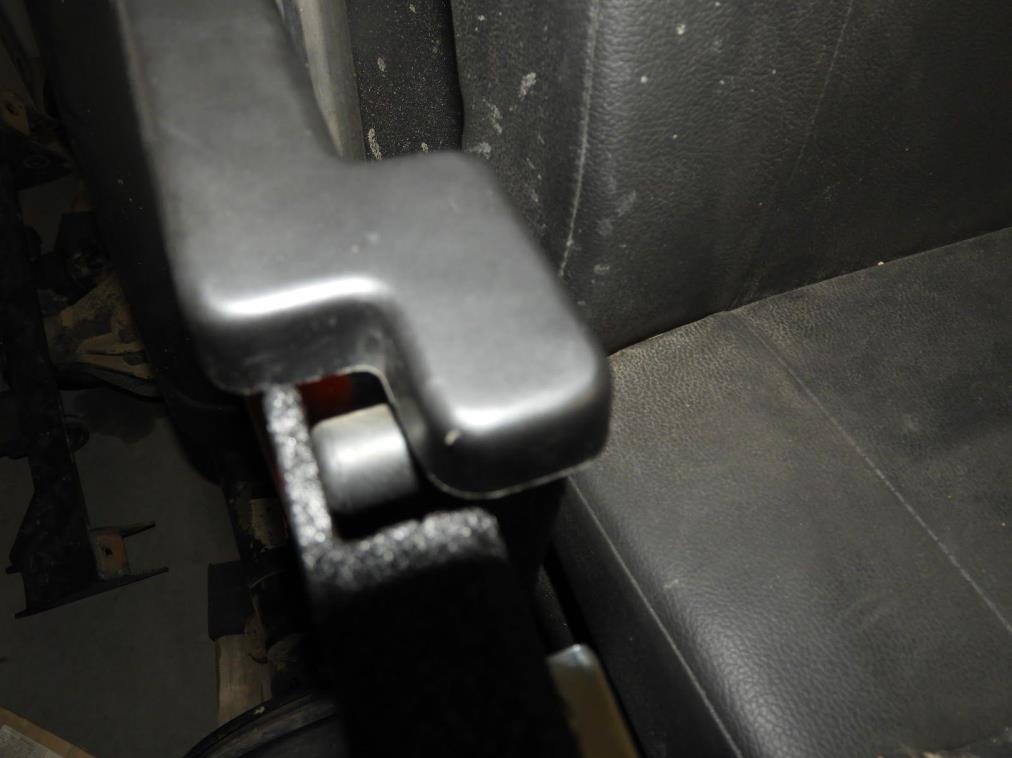
Close door and mark where the latch lands using one of the strikers. Mark and drill ¼” mounting holes for the striker. The strikers have slotted holes for door adjustment. Once adjusted, tighten up the ¼” SS BH Bolts, and Serrated Flange Nuts to fasten the strikers to the door frame.
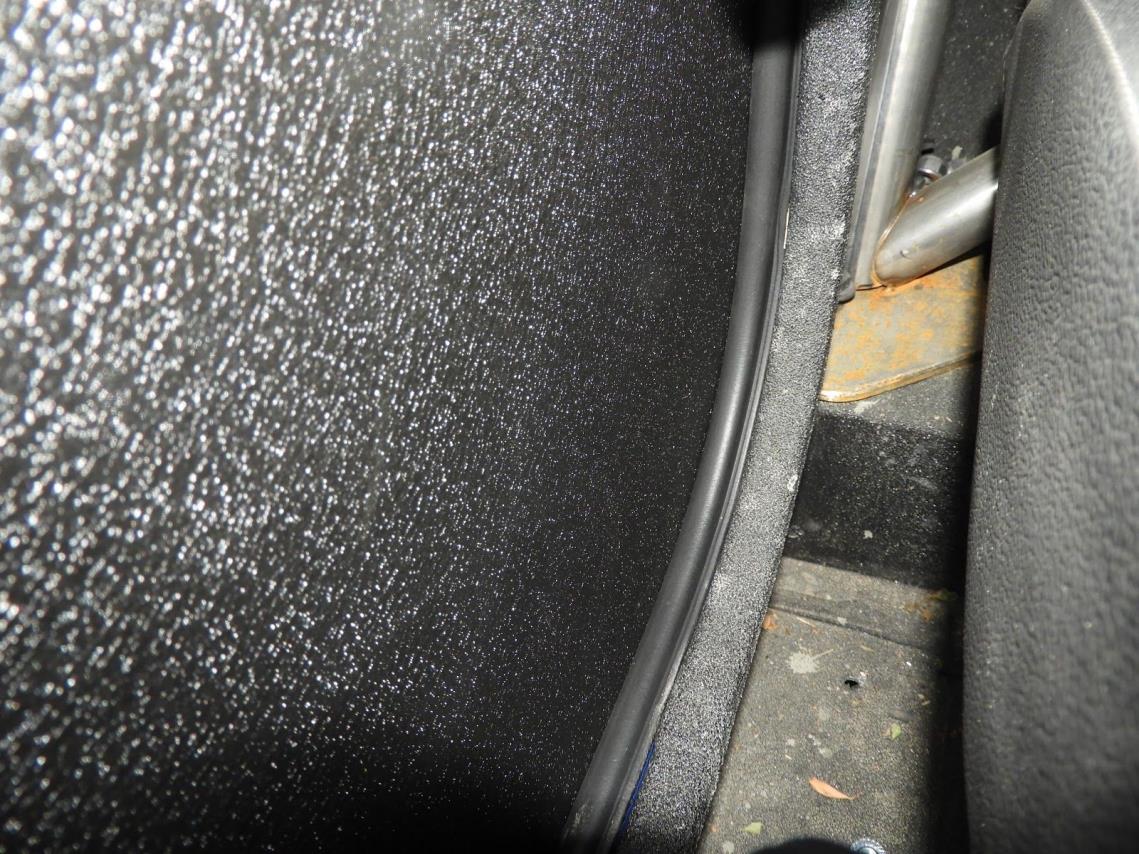
Locate the weatherstripping and fit it to the door frame. Working a section at a time, remove backing and press firmly in place. Cut off the excess weatherstripping. You may wish to attach the weatherstripping to the door itself in cases where the door may be removed frequently, to prevent excess wear to the seal. We recommend using a heat gun to promote better adhesion.
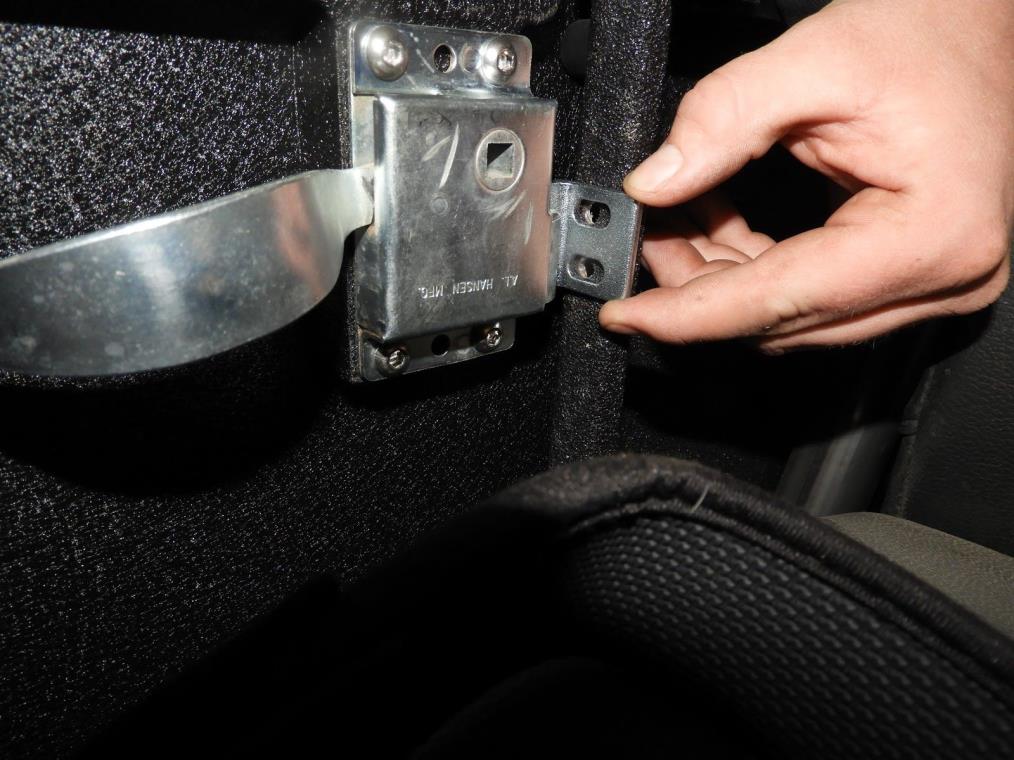
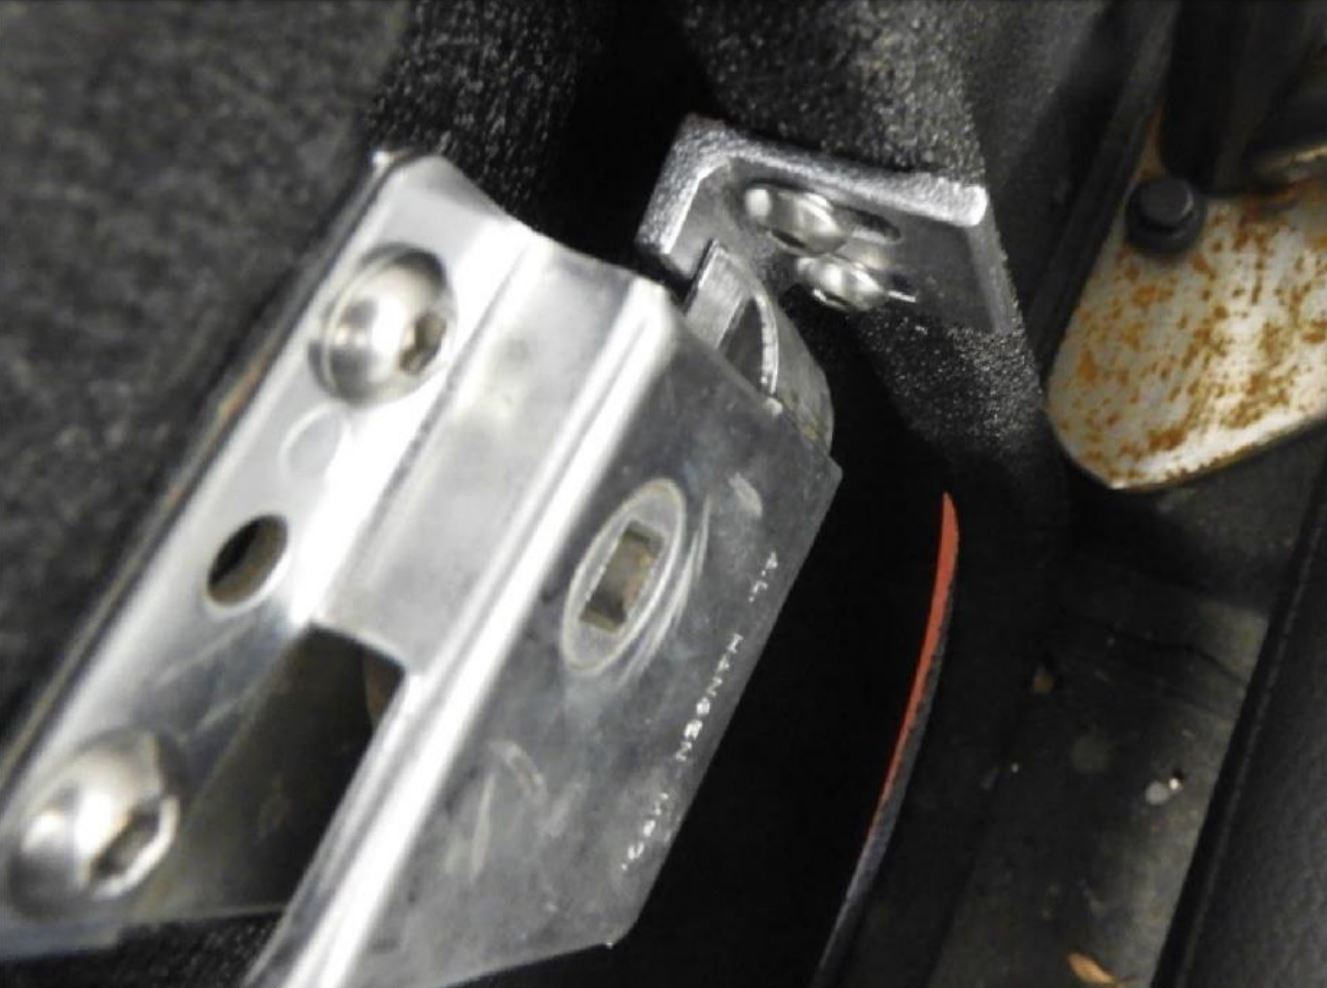
For installation of the limiting strap, you can use the included footman loops or two of the stock strap anchors from the stock door net.
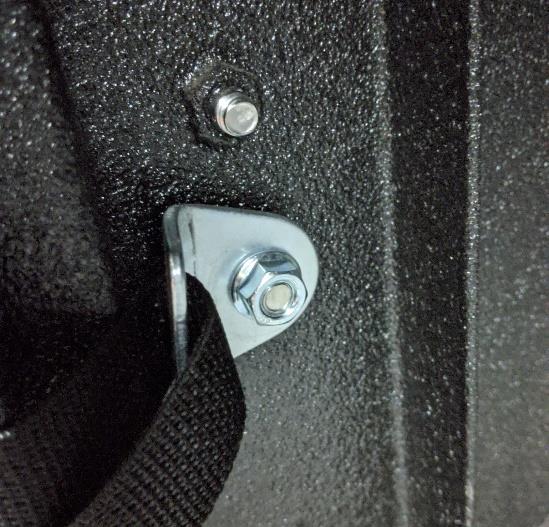
If you are using the strap anchor, you will need to bend them to a 90-degree angle.
Install them using the M8 flange nut on the inside of the lower body mount bracket, where you put the 25mm bolt
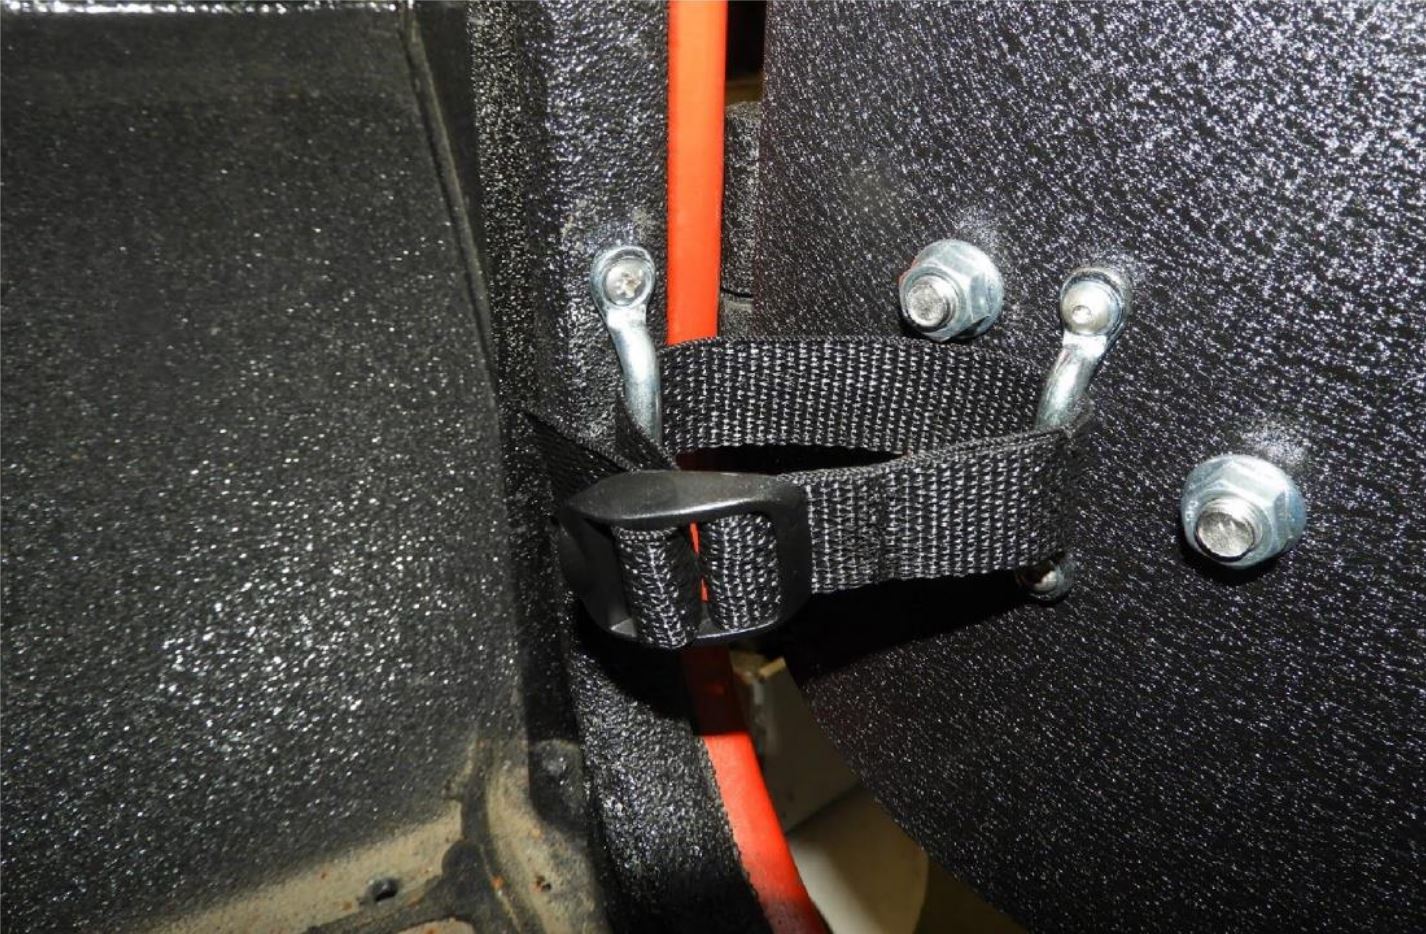
Install the limiting strap
If you are using the footman loops, align footman loop onto door frame in line with the door mounted footman loop. Using the supplied #8 screws, mount the footman loop in the center of the frame, as shown.


