FREE SHIPPING ON ORDERS OVER $1,000!
Transfer Case Skid Plate Installation

Transfer Case Skid Plate Installation

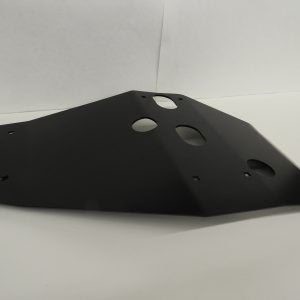
Install Time: 45 minutes

Tips

If you are having a hard time aligning the skid plate holes you can loosen the transmission cross member bolts on the frame to allow for adjustment.

Tools Needed

  • Floor Jack and Jack Stands
  • Ratchet & 14mm Socket
  • 14mm Wrench
  • 17mm Socket
  • 10×1.5mm Tap (included)

Preparation

  1. Jack up the vehicle and Secure with Jack Stands
  2. Remove nuts for the transmission mount (17mm socket)
  3. Jack up approximately ¾” to gain access to O.E. skidplate bolts.
  4. Remove O.E. skidplate bolts and plate (14mm wrench and socket)
  5. Using the supplied 10×1.5mm tap chase the forward most threaded holes on the bottom of the transmission.
  6. Thread the supplied vibration isolators on and tighten.
  7. Install the OTR skid plate using the existing carriage bolts in the cross member and the 2 supplied 10mm bolts for the vibration isolators.
  8. Lower the transmission down and install the 2 transmission mount nuts.

Tips

If you are having a hard time aligning the skid plate holes you can loosen the transmission cross member bolts on the frame to allow for adjustment.