Begin by removing Rox Sliders and hardware from packaging. Verify all the components listed above are there.
Rox Sliders come bolted together for packaging, unbolt them and set on padded material so as to not damage finish.
Mask off the mounting area of the Roxor, so that you can mark the hole layout, and so that you do not damage the painted area that is uncovered by the sliders.
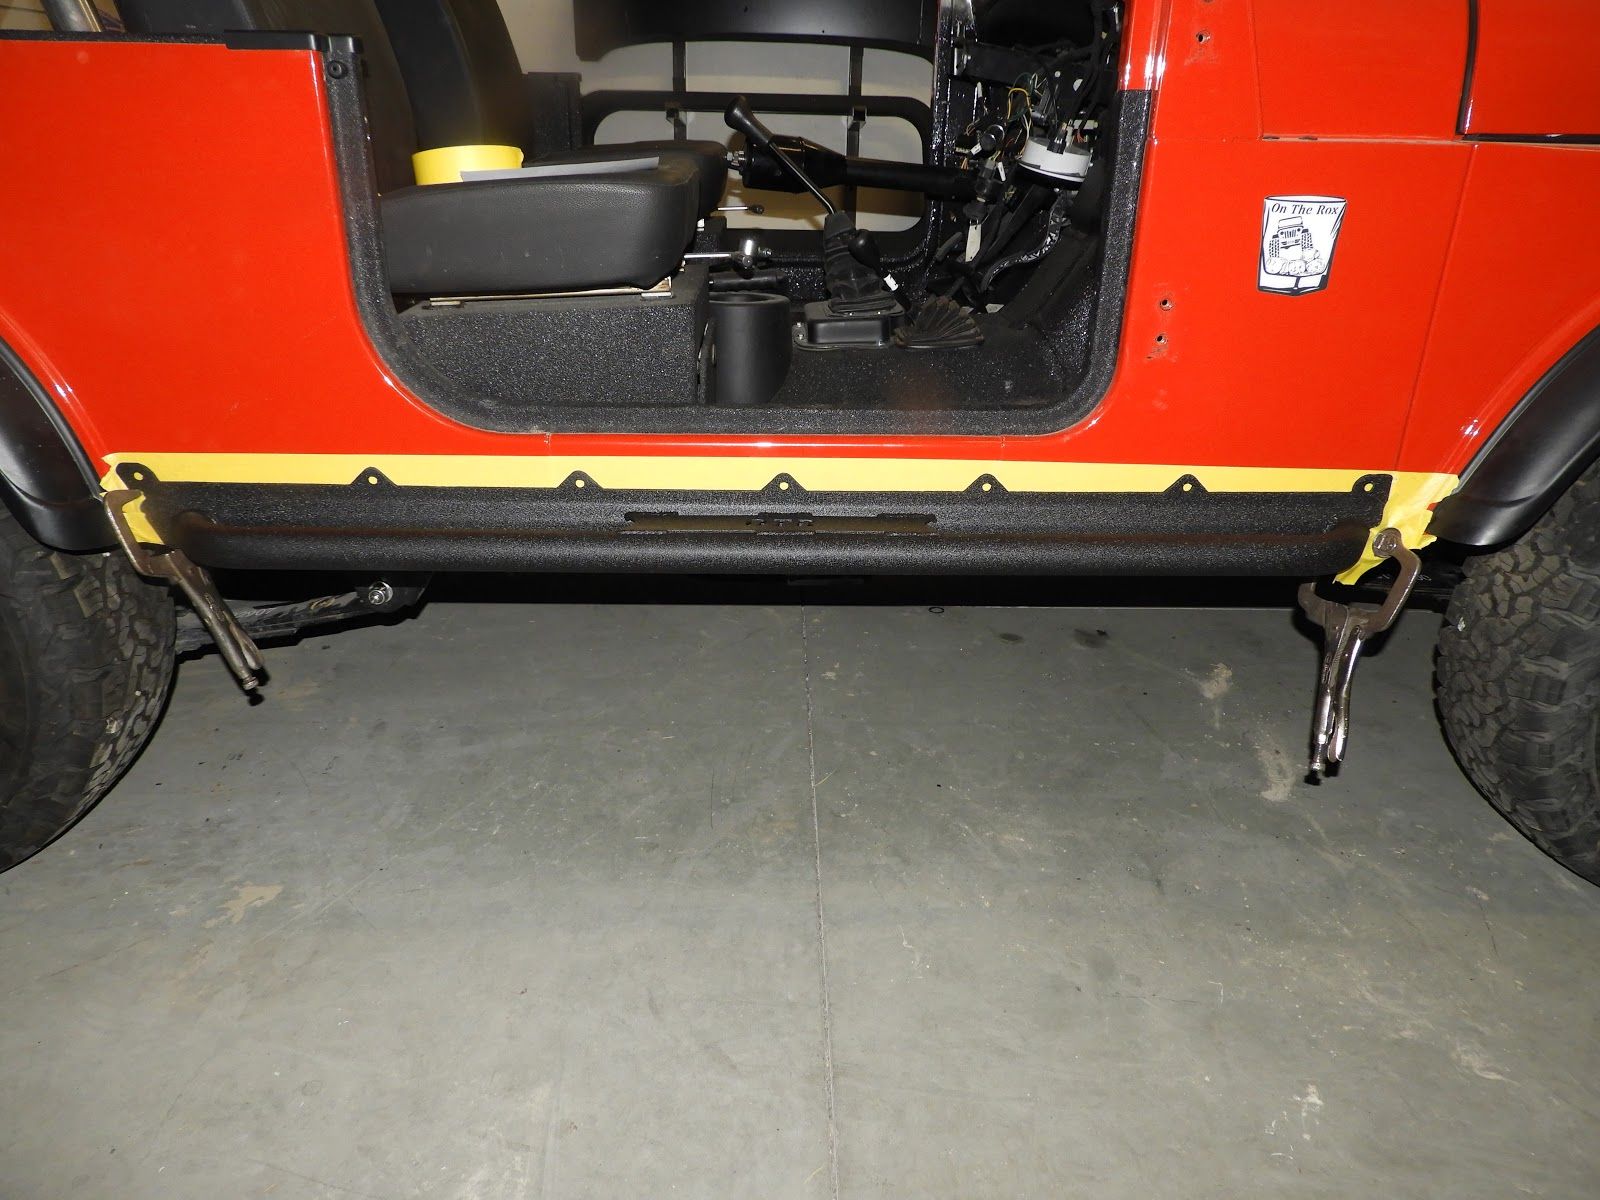
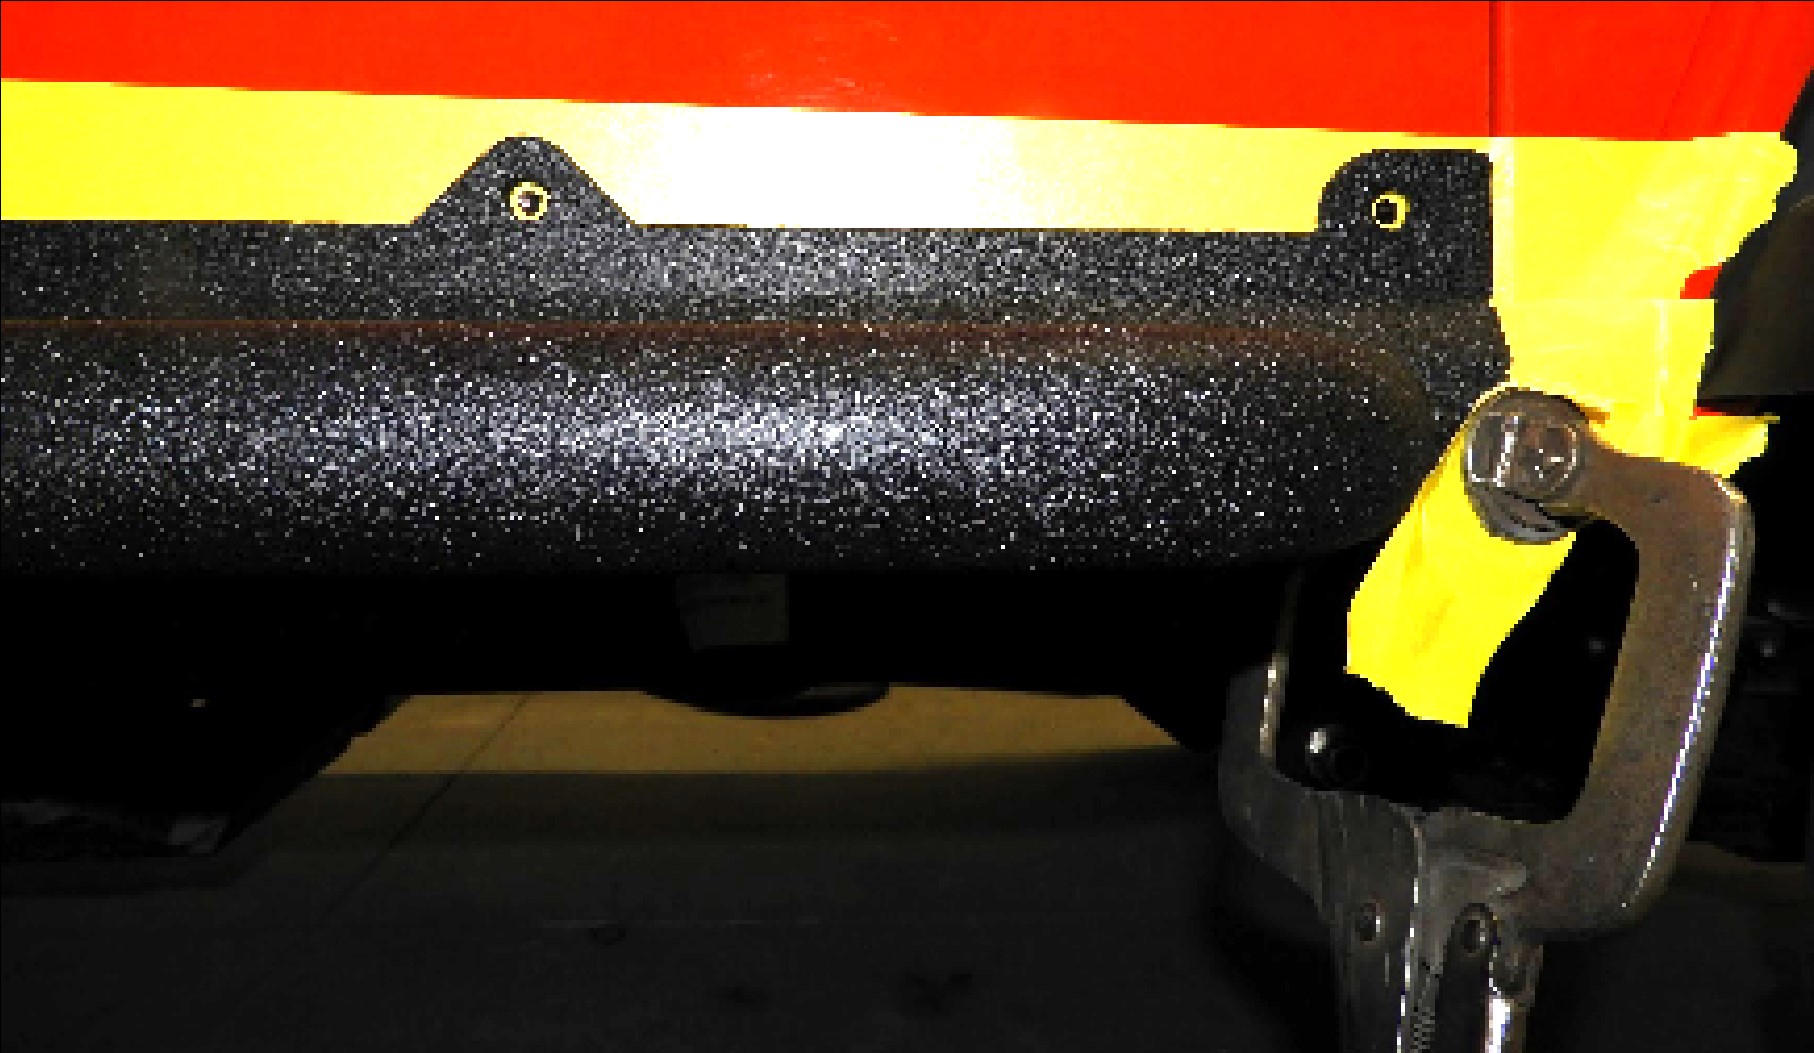
Take the Rox Sliders, and fit up to the side of the Roxor. You may use vise grips or other clamps to clamp them to the side in the mounting location, (mask off the area of the Rox Slider that the clamp is holding onto.) MAKE SURE TO ORIENTATE THEM THE CORRECT WAY- The square end faces forward, and the other end is cut at an angle to fit the rear fender line as shown below.
Mark your holes out onto the Roxor’s masked area on the side of the body. Move underneath the Roxor, and mark the holes on the bottom of the floor pan. These mounting holes into the bottom of the tub are optional, but recommended if you intend to use the Rox sliders to support the weight of the vehicle.
Remove Rox Sliders.
Drill mounting holes to 5/16” diameter. We recommend using a step bit, as they do not rub the paint off on the side of the holes, and they debur the hole as they cut.
Remove the masking tape.
Loosely mount the Rox Sliders onto the side of the vehicle with the 5/16” Stainless Button Head Bolts and Serrated Flange Nuts.
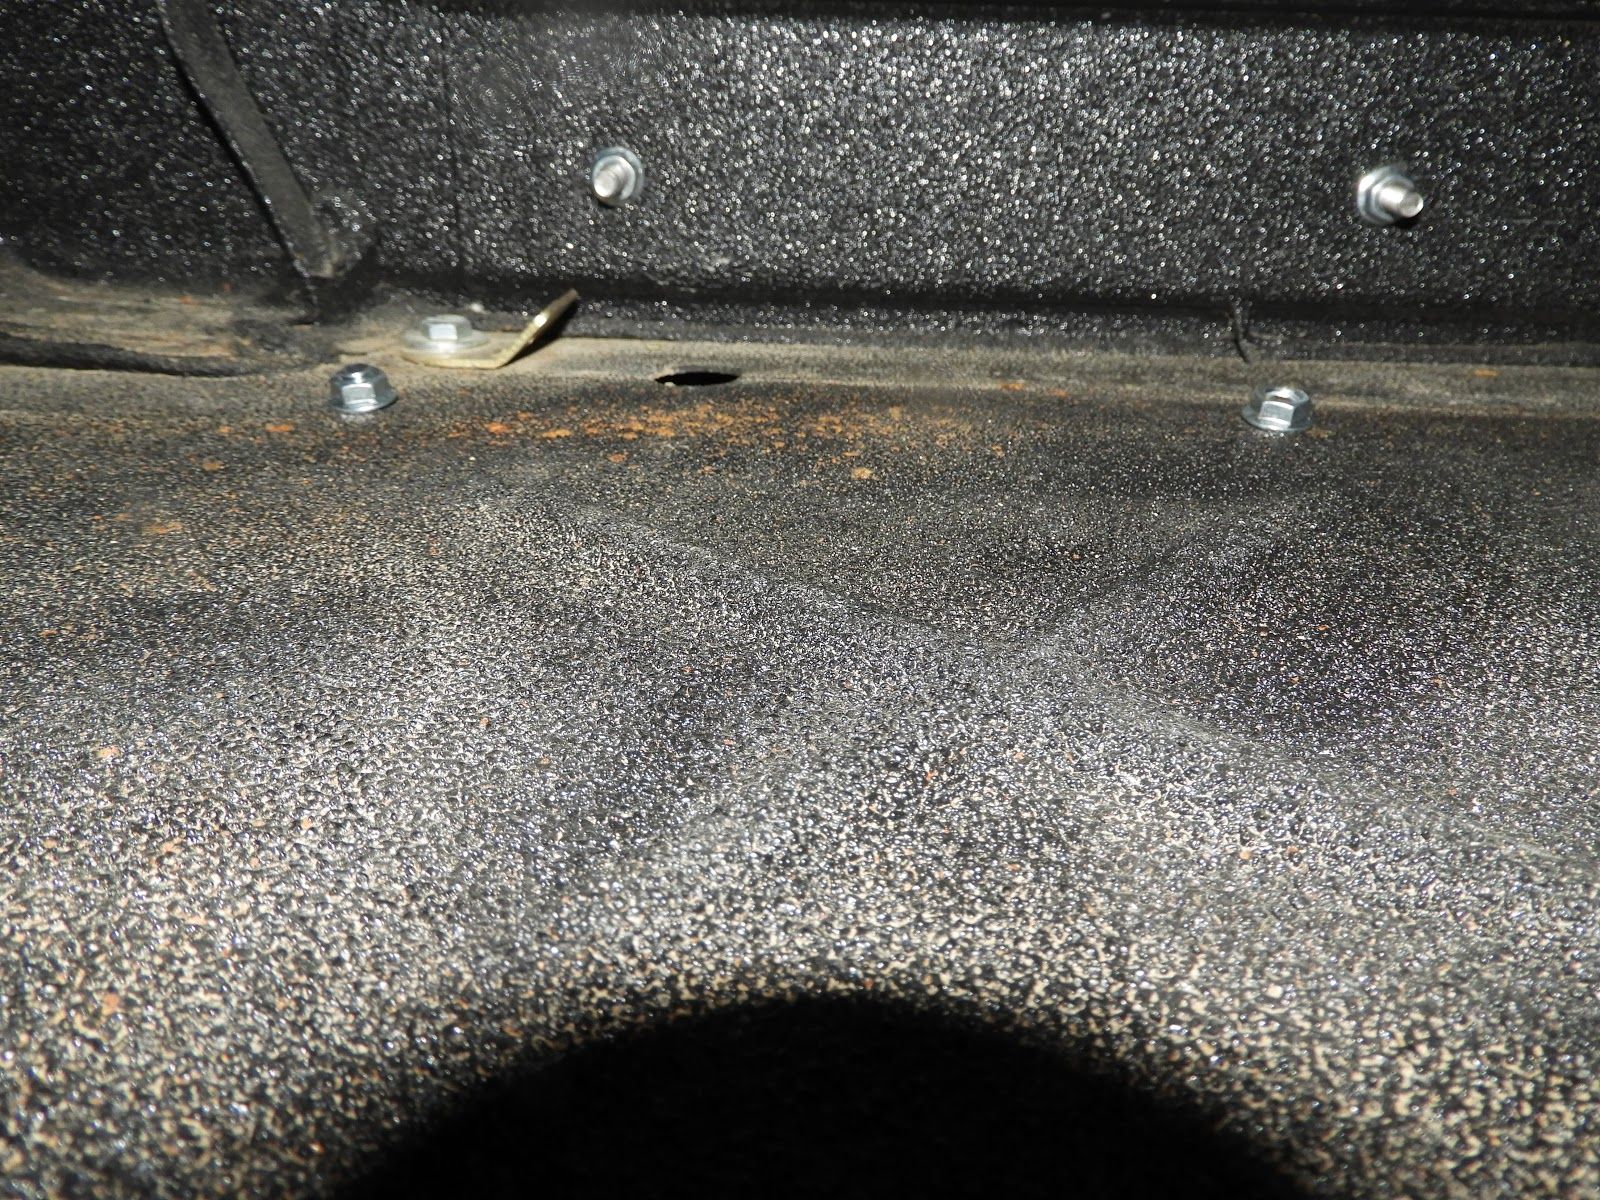
Use the Flange Head Bolts, and remaining Serrated Flange Nuts to loosely mount the bottom of the Rox Sliders up into the bottom tub of the Roxor.
Once all of the fasteners are loosely installed, you may go back through and tighten up all hardware.


