*READ INSTRUCTIONS THOROUGHLY BEFORE BEGINNING. OTR IS NOT RESPONSIBLE FOR INCORRECT INSTALLATION OR LOCAL LAWS REGARDING AFTERMARKET ACCESSORIES. THE USER IS RESPONSIBLE FOR ALL LIABILITIES ASSOCIATED WITH THE INSTALLATION AND USE OF THIS PRODUCT.
ALWAYS UTILIZE PERSONAL SAFETY EQUIPMENT WHEN YOU ARE WORKING IN THE SHOP.
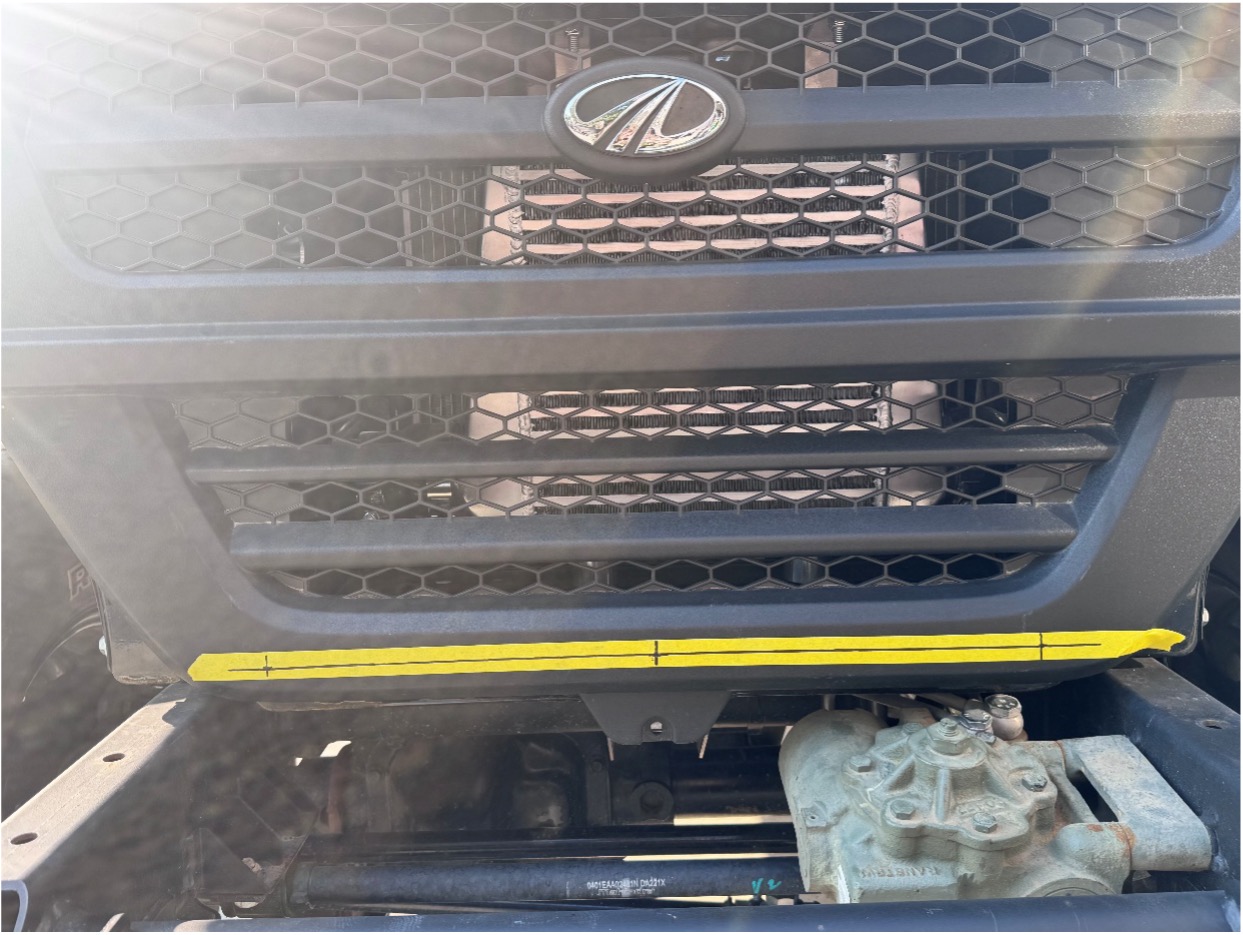
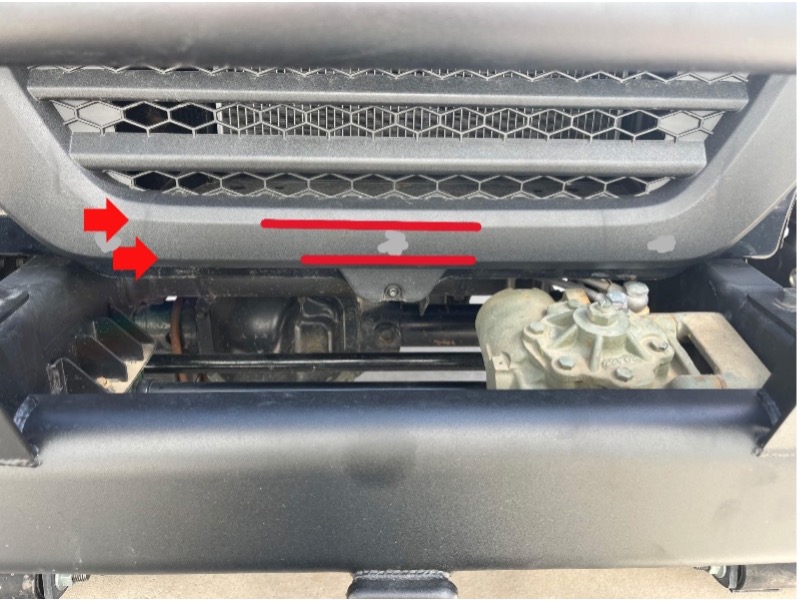
Step 1: Find center of the lower grille bar both vertical and horizontal
(Just from line to line, NOT the bends in the Grille.)
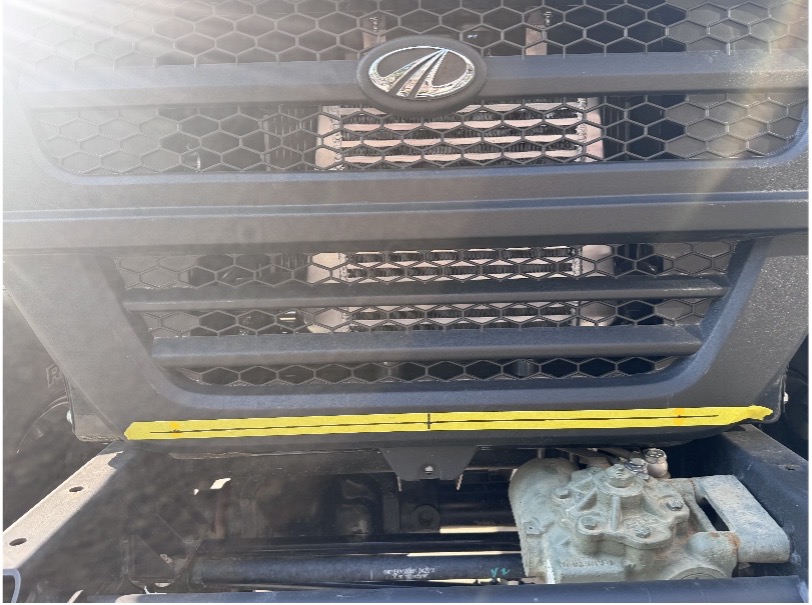
Step 2: Mark vertical line 10in from the center line on both the right and left side. (Note: yellow tape is just for highlight)
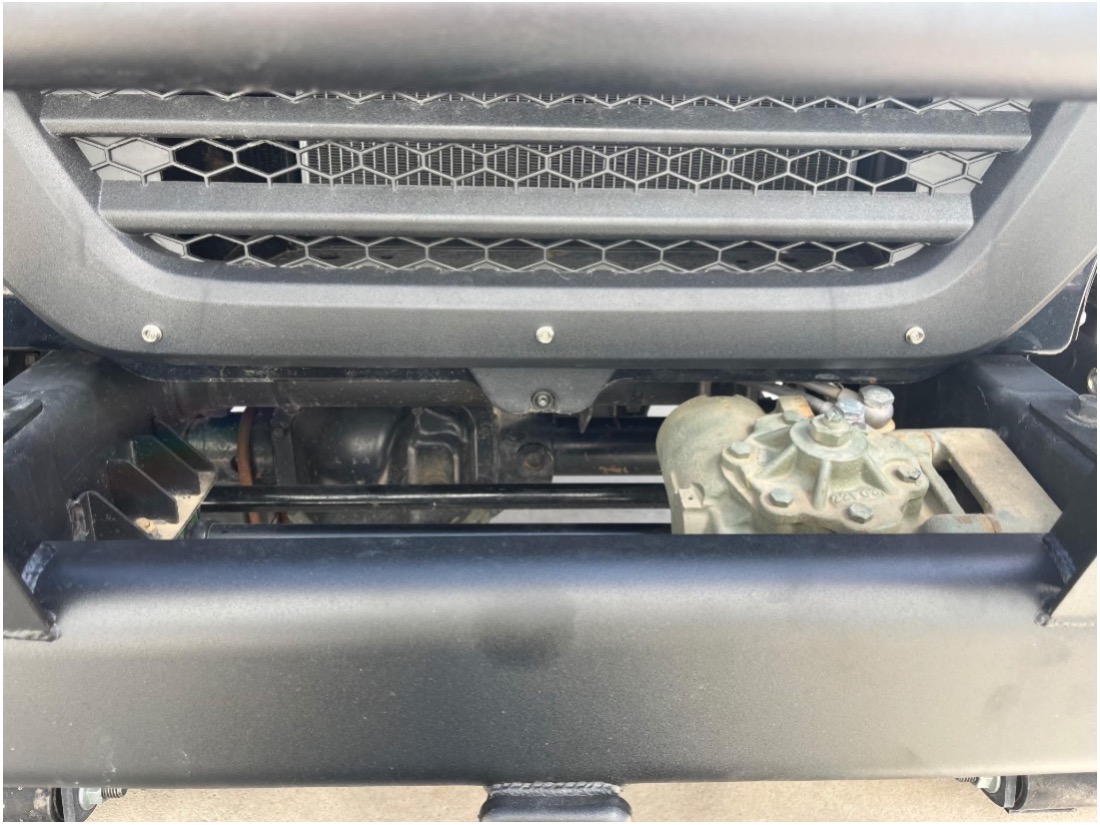
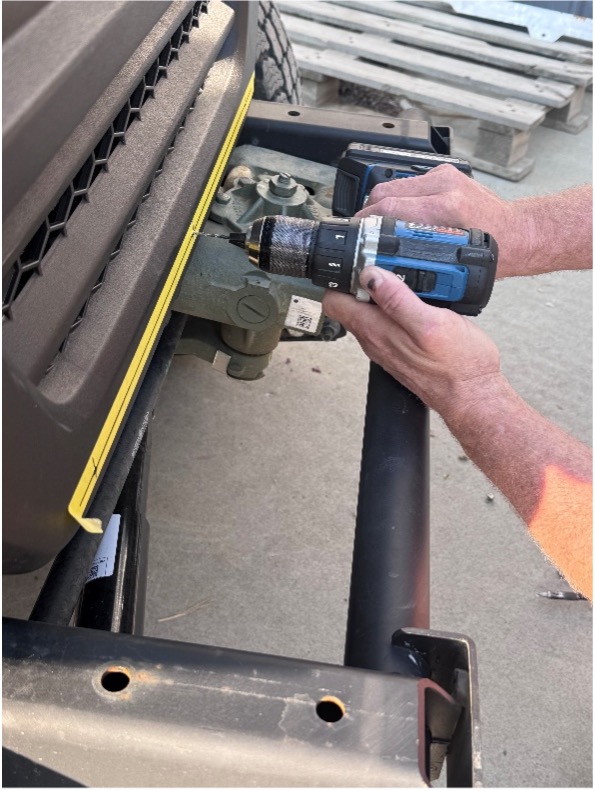
Step 3: Pre drill holes with 5/32” drill bit. Now install male side of snaps.
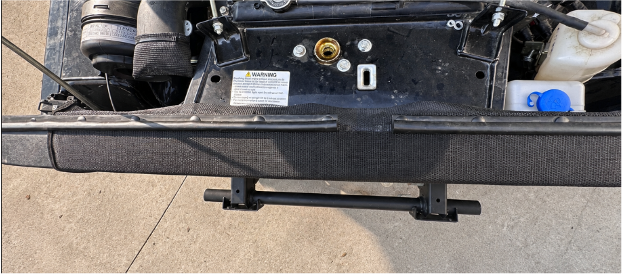
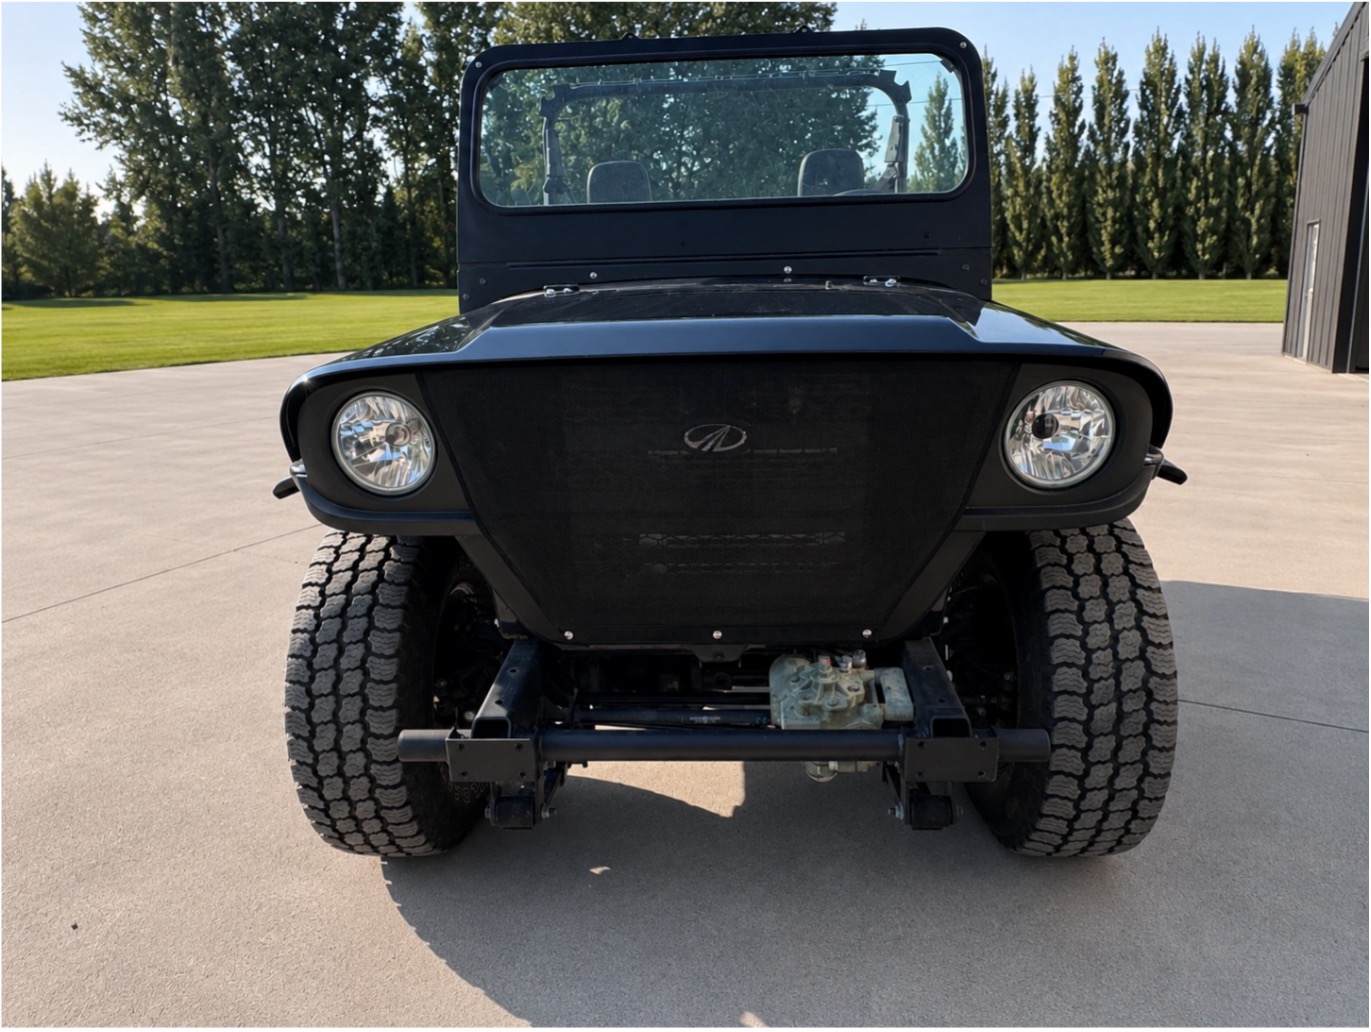
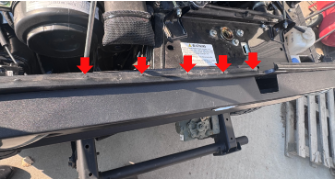
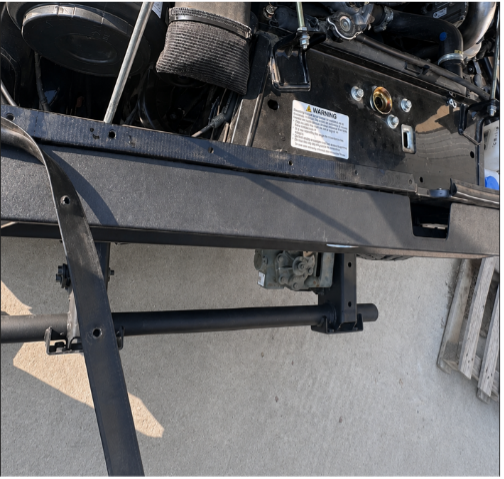
Step 4: Snap the screen on. Remove the push pin clips holding the rubber down. On the top of the core support 5 on the left, 4 on the right.
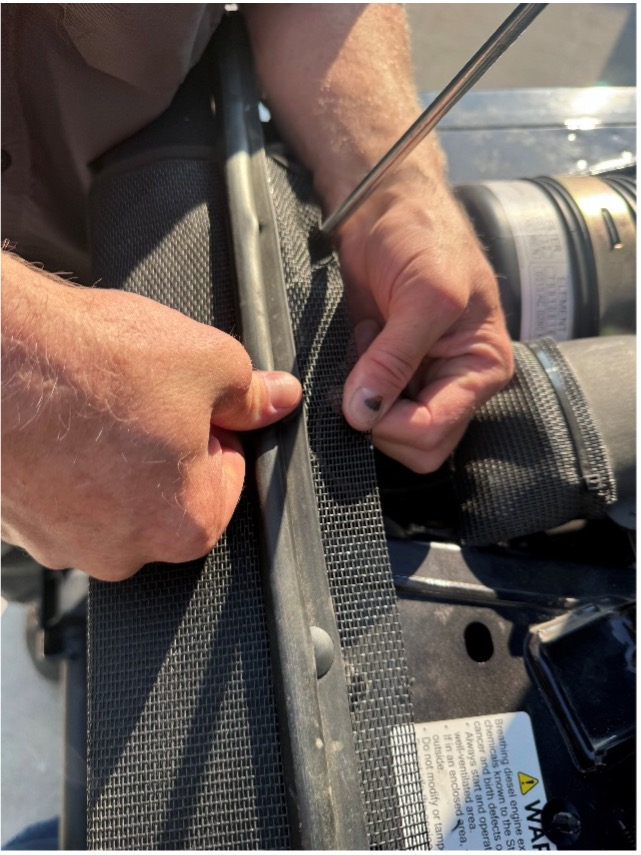
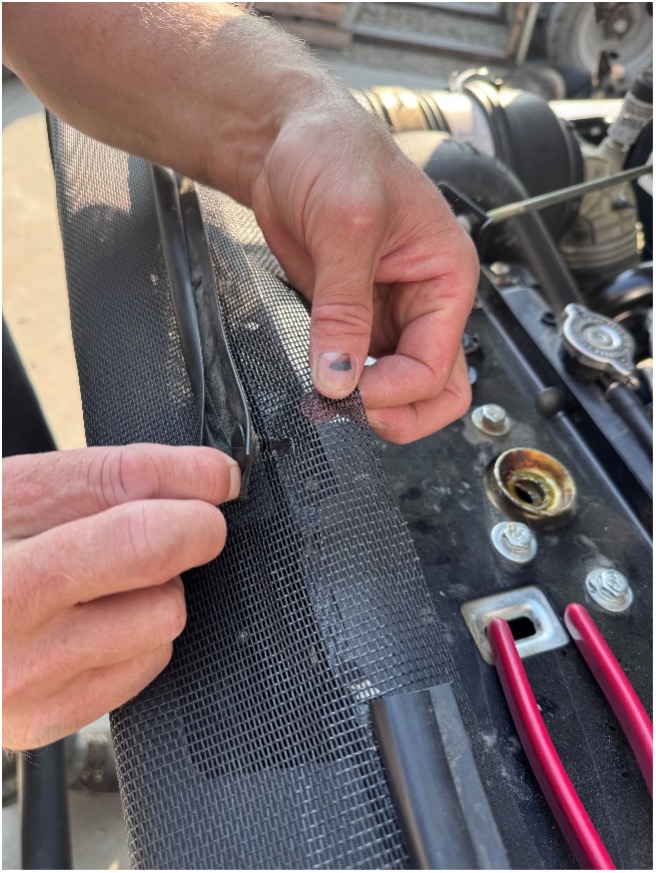
Step 6: Pull the screen tight and push the clip through the seal and then the screen and push clips back in the core support.
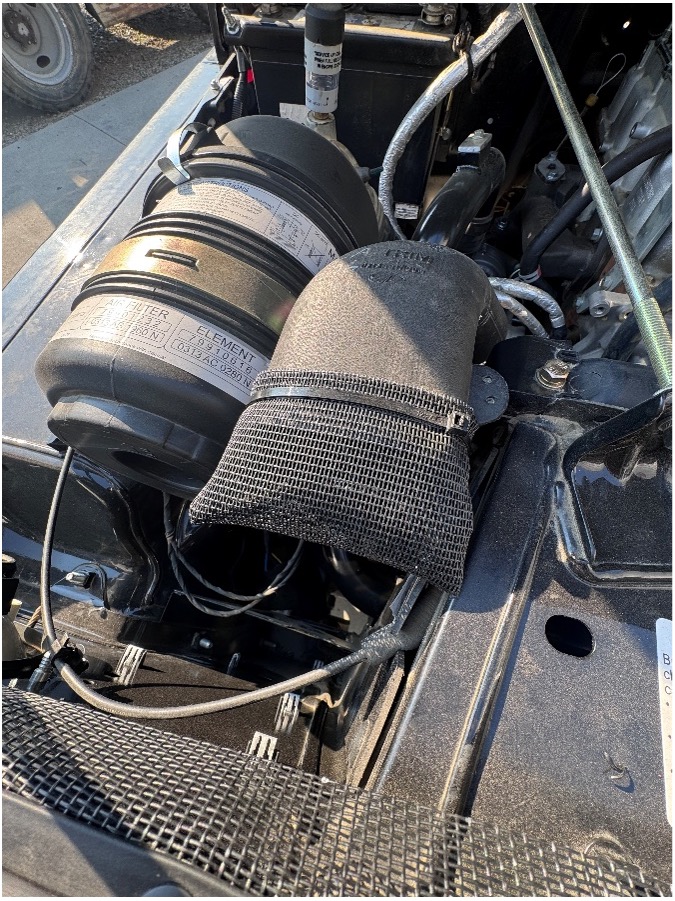
Step 7: Place the intake screen on the intake tube and secure it with the supplied zip tie.