*READ INSTRUCTIONS THOROUGHLY BEFORE BEGINNING. OTR IS NOT RESPONSIBLE FOR INCORRECT INSTALLATION OR LOCAL LAWS REGARDING AFTERMARKET ACCESSORIES. THE USER IS RESPONSIBLE FOR ALL LIABILITIES ASSOCIATED WITH THE INSTALLATION AND USE OF THIS PRODUCT.
ALWAYS UTILIZE PERSONAL SAFETY EQUIPMENT WHEN YOU ARE WORKING IN THE SHOP.
Tools Needed:
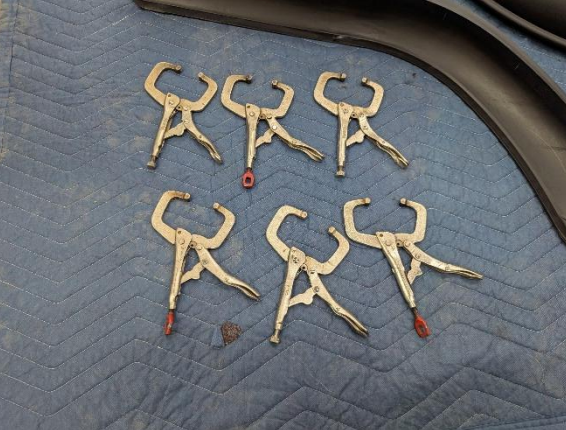
Clamps
Tape Measure
Marker
5/16” Nut Driver
All Pictures show 2022 and newer; follow the same steps for older style fenders as well.
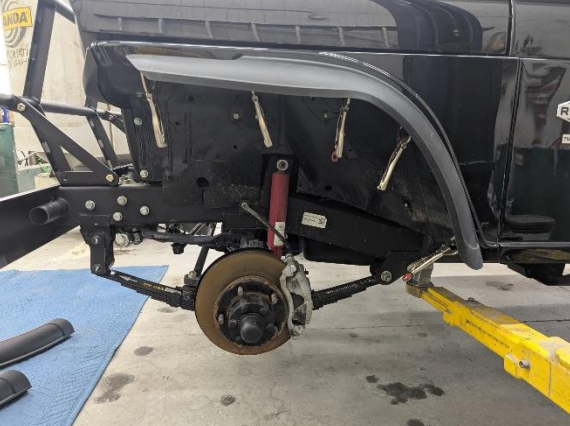
Step 1: Remove the tire to gain access to whichever fender you are working on.
Step 2: For the front fender flares, start marking at 2 inches from the edge and about 5 ½ inches spacing between after that.
Step 3: Clamp fender flare in place (may need to bend or flex for a correct fit)
• For the rear fender flares, start marking 4 inches from the edge and about 5 ½ inches spacing between marks after that.
Step 4: Using supplied self-taping screws and a 5/16” nut driver, screw the flares into position on the marks made earlier.


