FREE SHIPPING ON ORDERS OVER $1,000!
Standard Windshield Frame Installation Guide

Standard Windshield Frame Installation Guide

*READ INSTRUCTIONS THOROUGHLY BEFORE BEGINNING. OTR IS NOT RESPONSIBLE FOR INCORRECT INSTALLATION OR LOCAL LAWS REGARDING AFTERMARKET ACCESSORIES. THE USER IS RESPONSIBLE FOR ALL LIABILITIES ASSOCIATED WITH THE INSTALLATION AND USE OF THIS PRODUCT.

ALWAYS UTILIZE PERSONAL SAFETY EQUIPMENT WHEN YOU ARE WORKING IN THE SHOP.

  • Included but not shown in the picture above, is a section of rubber weatherstrip to go between the windshield frame and roll cage. We recommend applying the adhesive side onto the windshield frame. Account for where your clamps will be, and trim for their location. We also recommend using a heat gun on the adhesive in order to get strong adhesion.
  • Remove the stock cowl cover with the Mahindra sticker. You may save the factory bolts, or utilize our included 8mm stainless button head bolts to mount our On the Rox Windshield Frame.
  • Take the 2 supplied tubing clamps and install them onto the roll bar towards the top bend in the pre-slotted holes. Line them up with the slot in the On the Rox windshield frame and bolt the frame onto the tubing clamps.
  • Take the supplied 5/16-inch stainless bolts and fender washers and mount them through the bottom center holes in the windshield frame that line up with the factory Roxor holes in the cowl to better solidify the mount. Install them with the fender washer and nut inside and under the dash, and the button head on the outside of the frame.

Glass Information

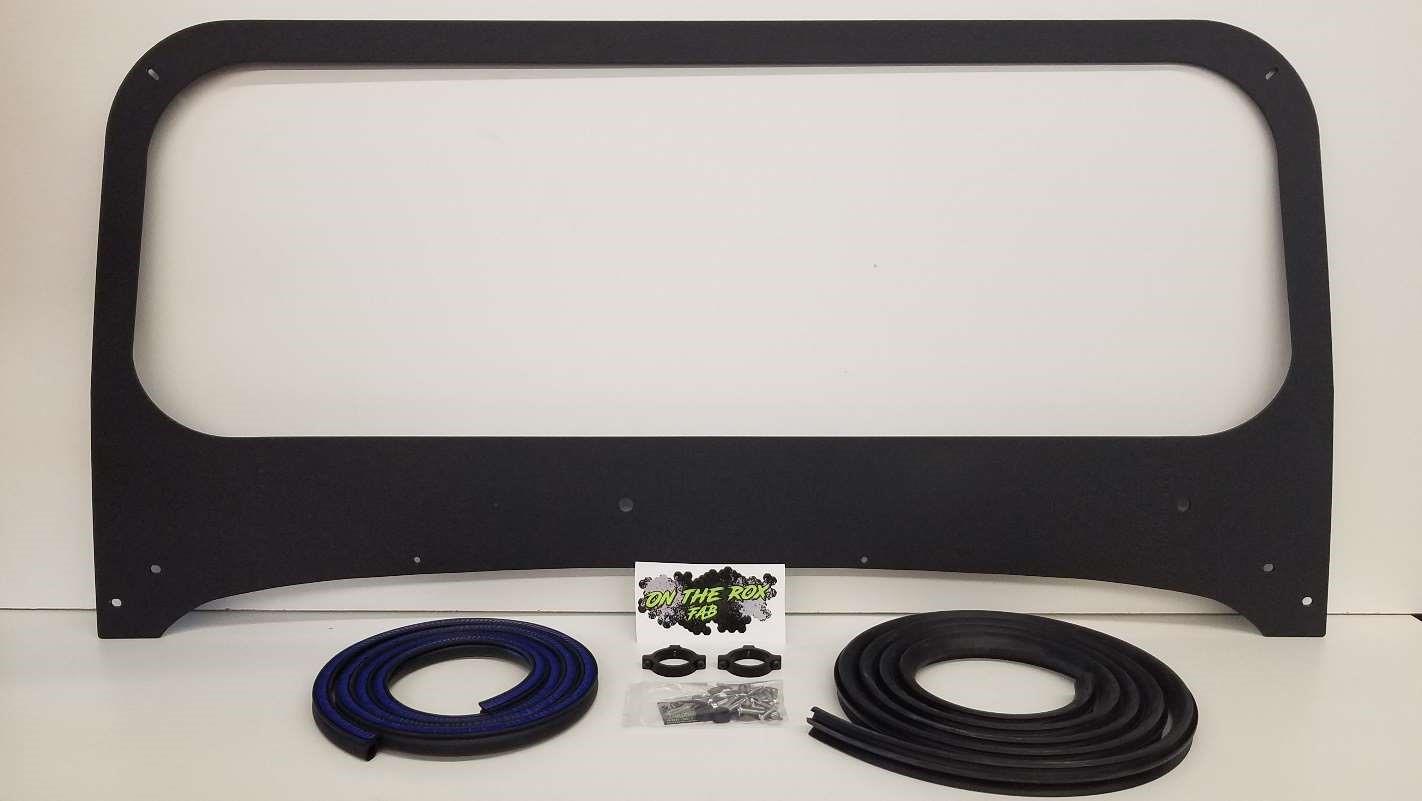
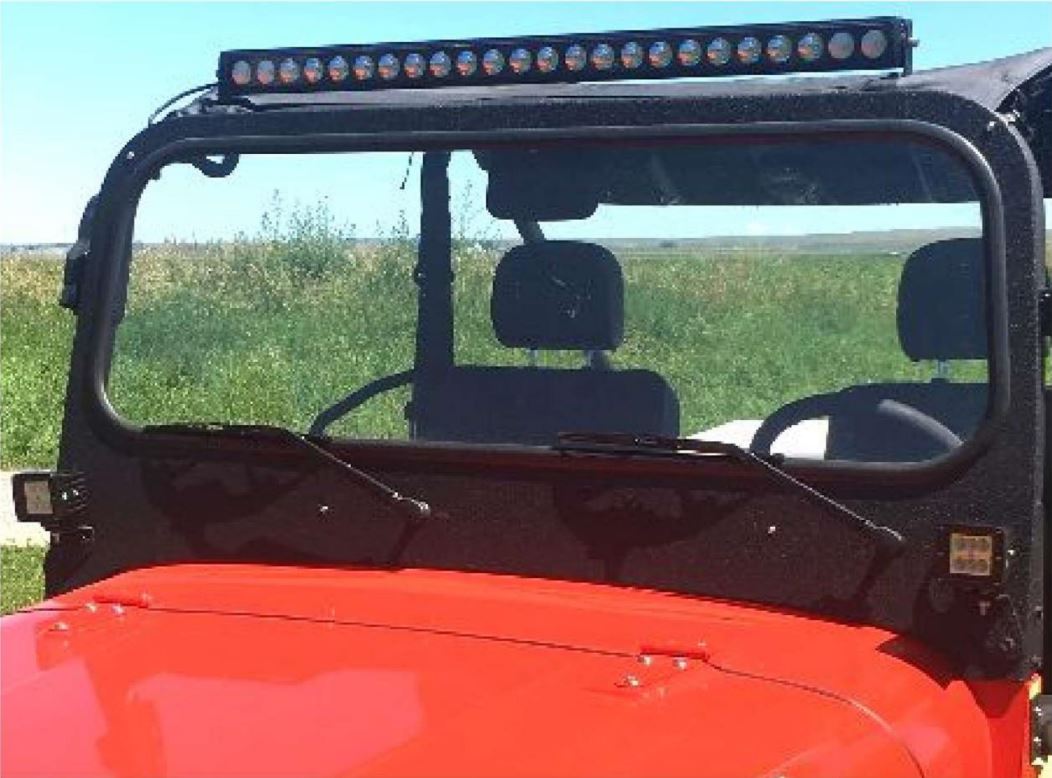
On the Rox Fabrication’s aftermarket windshield frame for the Mahindra Roxor does not include the glass. This is to lower shipping costs for the customer and eliminate concerns of glass breaking in the shipment. We fit our windshield frames with .030 (¼”) Safety Plate Laminated glass. The included glass seal is also fit for this size of glass. Plexiglass may also be used if desired.